Creating a 3D lyrical video of kids’ photos in Alight Motion is a wonderful way to turn simple memories into an emotional and visually appealing video. These types of edits are especially popular for birthday celebrations, family moments, social media reels, and status videos because they combine beautiful photo animations with meaningful song lyrics. Even if you are new to video editing, Alight Motion provides enough tools to help you create professional-looking results directly on your smartphone.
The first step is to collect everything you need before opening the app. Choose high-quality photos of the child because clear images always produce better editing results. Select pictures with good lighting and different poses to make the final video more engaging. Next, decide on a lyrical song that matches the mood you want to create. Soft, emotional, or cheerful songs work well depending on the occasion. It is also helpful to prepare PNG elements such as butterflies, light effects, hearts, particles, or flowers to enhance the overall look of the video.
Once you open Alight Motion, create a new project by choosing the appropriate resolution and frame rate. Most creators prefer 1080p with 30 frames per second because it offers a sharp and smooth video suitable for YouTube Shorts, Instagram Reels, and other social media platforms. Set the background colour according to your theme, although many editors prefer a dark or blurred background because it makes the photos stand out more clearly.
Now import your first photo onto the timeline. Resize and position it carefully so the child’s face remains the main focus. Instead of leaving the image static, use keyframes to create smooth movements. Slowly zooming in or moving the photo slightly from left to right creates a cinematic feeling. These small animations make the video feel alive rather than looking like a slideshow.
To create the popular 3D effect, duplicate the photo layer. One layer acts as the foreground while the other becomes the background. By slightly enlarging the background layer and applying a blur effect, you create a sense of depth. Then animate both layers separately using different movement speeds. The background should move more slowly while the foreground moves slightly faster. This simple technique creates an illusion of three-dimensional motion that looks impressive without requiring advanced editing skills.
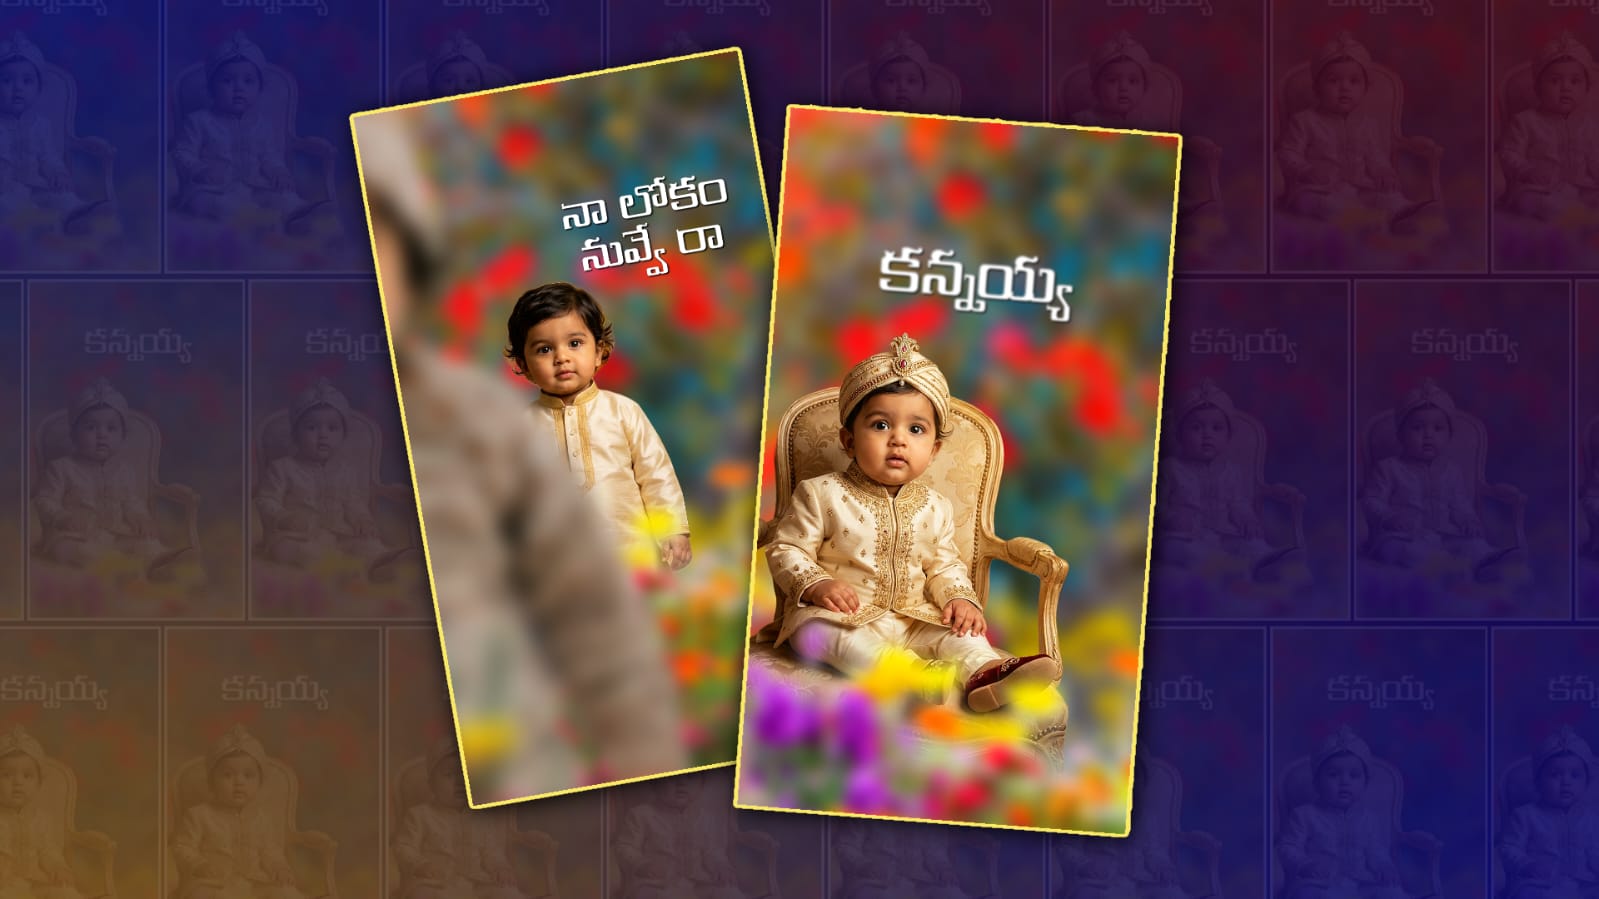
Many editors also use cutout images for a stronger 3D appearance. You can remove the background from the child’s photo using any background removal tool before importing it into Alight Motion. Place the cutout image above a blurred version of the original photo. Add subtle shadow effects or glow around the subject to separate it from the background. As both layers move independently, the child appears to pop out from the screen, giving the video a realistic 3D feel.
Lyrics play an important role in this editing style. Add text to match the song’s timing and synchronise every line carefully. Alight Motion allows you to animate text with various presets, but creating custom animations often looks more unique. You can make the lyrics fade in, slide upward, bounce slightly, or scale smoothly with the music. Choose readable fonts that match the emotional tone of the song. White, golden, or light-colored text usually stands out well against darker backgrounds.
Colour grading is another element that greatly improves the final result. Adjust brightness, contrast, saturation, and warmth until the photos look vibrant but natural. Avoid over-editing because excessive filters may reduce image quality. Soft colour tones usually work best for children’s photos because they preserve the innocence and warmth of the memories. If your photos have different lighting conditions, apply similar adjustments to each image so the entire video maintains a consistent appearance.
Adding visual effects makes the edit more attractive without overwhelming the viewer. Light leaks, glowing particles, lens flares, snow effects, floating hearts, or dust overlays can create a magical atmosphere. Place these elements on layers above the photos and experiment with blending modes such as Screen or Add to remove black backgrounds. Reduce the opacity if the effects become too distracting. The goal is to complement the photos rather than hide them.
Smooth transitions between photos are essential for maintaining the flow of the video. Instead of switching abruptly, use transitions like zoom, blur, spin, fade, or camera movement. If you manually animate transitions using keyframes, the results often appear more natural than relying solely on preset effects. Timing is equally important because transitions should follow the rhythm of the music and not interrupt the emotional experience.
Camera movement is one of the easiest ways to give your edit a professional appearance. Even when working with still images, you can create the illusion of motion by slowly panning across the photo or zooming toward the subject. Combining horizontal movement with slight scaling produces dynamic scenes that keep viewers interested throughout the video. These subtle animations are often more effective than fast, exaggerated movements.
Motion blur is another useful feature available in Alight Motion. When objects move smoothly, adding motion blur makes the animation appear more realistic and cinematic. Use it carefully because too much blur can reduce image clarity. A balanced amount enhances the overall quality without making the video look messy.
If your project includes multiple photos, maintain a consistent editing style from beginning to end. Use similar animation speeds, colours, adjustments, text styles, and visual effects throughout the timeline. Consistency gives the video a polished and professional look while helping viewers stay emotionally connected to the story.
Music synchronisation is perhaps the most important part of lyrical editing. Listen carefully to the beats and emotional changes in the song. Place keyframes, transitions, and lyric animations exactly where the music changes. Even simple effects appear much more impressive when perfectly synchronised with the soundtrack. Spend extra time adjusting the timing because this step often determines the overall quality of the final video.
Before exporting, preview the entire project several times. Look for spelling mistakes in the lyrics, animation glitches, uneven transitions, or misplaced effects. Small corrections at this stage can significantly improve the final output. Once everything looks smooth, export the video using high-quality settings. A resolution of 1080p with a high bitrate usually delivers clear and detailed results while maintaining compatibility with most social media platforms.
As you continue practising, you will become more comfortable experimenting with different effects and animation techniques. Every project teaches something new, whether it is better timing, smoother keyframes, or improved colour grading. Watching other creators for inspiration can also help you discover fresh ideas, but adding your own creative style will make your videos stand out.
Kids photo 3D lyrical video editing is not only about using effects; it is about preserving memories creatively and emotionally. Every animation, lyric, and transition should enhance the feeling behind the photographs rather than distract from them. With patience, attention to detail, and regular practice, Alight Motion becomes a powerful tool for creating memorable videos that family and friends will enjoy watching for years. Even beginners can achieve impressive results by focusing on smooth animations, thoughtful music selection, and consistent editing techniques, turning ordinary photos into beautiful cinematic memories.