If you have been watching trending mass BGM edits on Instagram Reels, YouTube Shorts, or other social media platforms, you have probably noticed that many of them have a similar style: powerful music, dramatic cuts, slow-motion moments, bold text, camera shakes, flashes, and perfectly timed transitions. The good news is that you do not need a professional computer or expensive editing software to create this kind of video. With Alight Motion, you can make a stylish mass BGM edit directly on your phone.
The first thing you need is a good video clip and a suitable BGM. The quality of your original footage matters a lot because even the best effects cannot completely fix a low-quality or badly lit video. Choose a clip with clear movement, a strong expression, an action moment, or a scene that matches the energy of your music. For a mass-style edit, clips with confident walking, entry scenes, bike or car shots, cinematic looks, or powerful character moments usually work well.
After opening Alight Motion, create a new project. Choose a resolution according to where you plan to upload the video. For Reels and Shorts, a vertical 9:16 format is generally the easiest choice. You can use a higher resolution if your phone and original footage support it. Import your video first and then add your selected BGM underneath it. Before adding effects, listen to the music carefully and identify the important beats. These beats will become the foundation of your entire edit.
Beat synchronisation is one of the most important parts of a trending BGM edit. Instead of randomly cutting clips, try to make major movements happen exactly when the beat hits. You can add markers manually while listening to the audio. Mark the strong beats, drops, pauses, and musical changes. Once the markers are ready, split your video around those points. Even a simple edit can look professional when the cuts are perfectly synchronised with the music.
Next, work on speed. Speed control can make an ordinary clip feel much more dramatic. For example, you can start a shot at normal speed, slow it down before the beat, and then return quickly to normal or faster speed when the beat drops. Alight Motion allows you to create this effect using speed controls and keyframes. Do not slow down every part of the video, though. Using slow motion only at important moments makes the effect more noticeable.
Zoom is another simple technique that can make a huge difference. Add keyframes to the scale and position of your video. Start with a slightly smaller scale and gradually zoom toward the subject. When the main beat arrives, you can add a quick zoom-in. A small amount of movement often looks better than an extreme zoom because excessive scaling can make the footage look blurry or uncomfortable.
For the classic mass feel, camera shake is very useful. You can create a shake manually by changing the position and rotation with keyframes, or use an appropriate effect if you have one available. Keep the shake short and synchronise it with strong beats. A shake that continues for too long can make the video difficult to watch. The goal is to make viewers feel the impact of the music, not to make the entire screen constantly move.
Flash effects can also be added around major beats. A quick white flash between two clips can create a powerful transition. You can make a simple shape layer, choose white, adjust its opacity, and place it over the footage for a very short duration. Lower the opacity if the flash looks too bright. Combining a flash with a quick zoom or shake can produce the energetic style commonly seen in mass BGM edits.
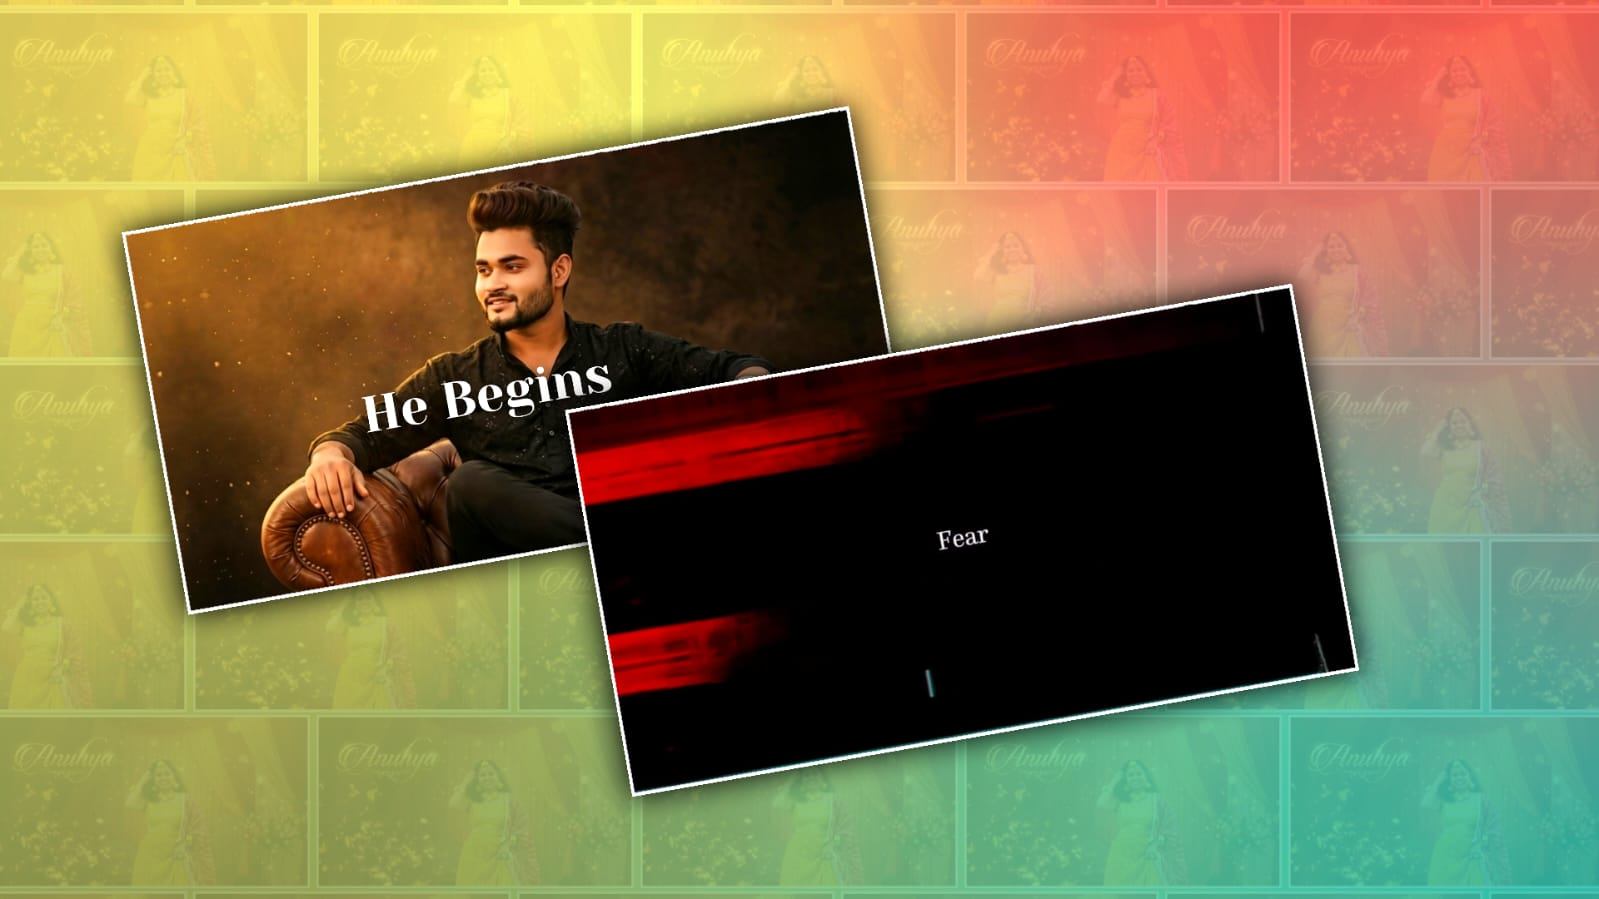
Text is another important element. Use short words rather than filling the screen with long sentences. Names, punch lines, song titles, or simple phrases can work well. Choose a bold font and place the text where it does not hide the main subject. You can animate the text using scale, position, opacity, or rotation. A quick text entrance synchronised with the beat can make the edit feel much more dynamic.
Colour grading should be done after the main effects are complete. Adjust brightness, contrast, saturation, highlights, and shadows according to the footage. A slightly darker and higher-contrast look can create a cinematic appearance, but avoid making everything extremely dark. Different clips may need different adjustments, especially if they were recorded in different lighting conditions.
Transitions should also be used carefully. You do not need a different transition between every clip. Simple cuts, zoom transitions, flashes, motion blur, and quick shakes are often enough. The best edits usually feel smooth because every effect has a purpose. If you add too many transitions, the video can become distracting and lose the impact of the original footage.
Motion blur can make fast movements look smoother. If you are using keyframes for zooming, shaking, or moving the footage, adding an appropriate amount of motion blur can help hide the stiffness of digital movement. Again, moderation is important. Too much blur can reduce the clarity of your subject.
One useful trick is to build the edit in layers. Keep your original video on one layer, adjustments to colour or effects on another, text on separate layers, and additional flashes or overlays above them. This makes the project easier to control. If something looks wrong, you can change one element without affecting the entire edit.
Before exporting, watch the complete video several times. Pay attention to whether the cuts match the beats, whether the text is readable, and whether the effects are too strong. Check the beginning especially carefully because the first few seconds are important for keeping viewers interested. A strong opening shot followed by a beat drop can immediately make the edit feel more engaging.
Finally, export the video using settings that maintain good quality without creating an unnecessarily huge file. Watch the exported version once before uploading because sometimes effects or timing can look slightly different after rendering. If the video looks sharp, the synchronisation is accurate, and the effects support the footage rather than overpowering it, you are ready to post.
The biggest secret behind a trending mass BGM edit is not simply using a large number of effects. Good timing, suitable footage, clean cuts, controlled shakes, dramatic speed changes, and music synchronisation are what make the video satisfying to watch. Start with simple techniques and gradually experiment with more advanced keyframe animations and effects in Alight Motion. With practice, you can develop your own editing style instead of copying every trend exactly. The more you experiment with different songs, clips, colours, and timing, the easier it becomes to create edits that feel powerful, smooth, and uniquely yours.