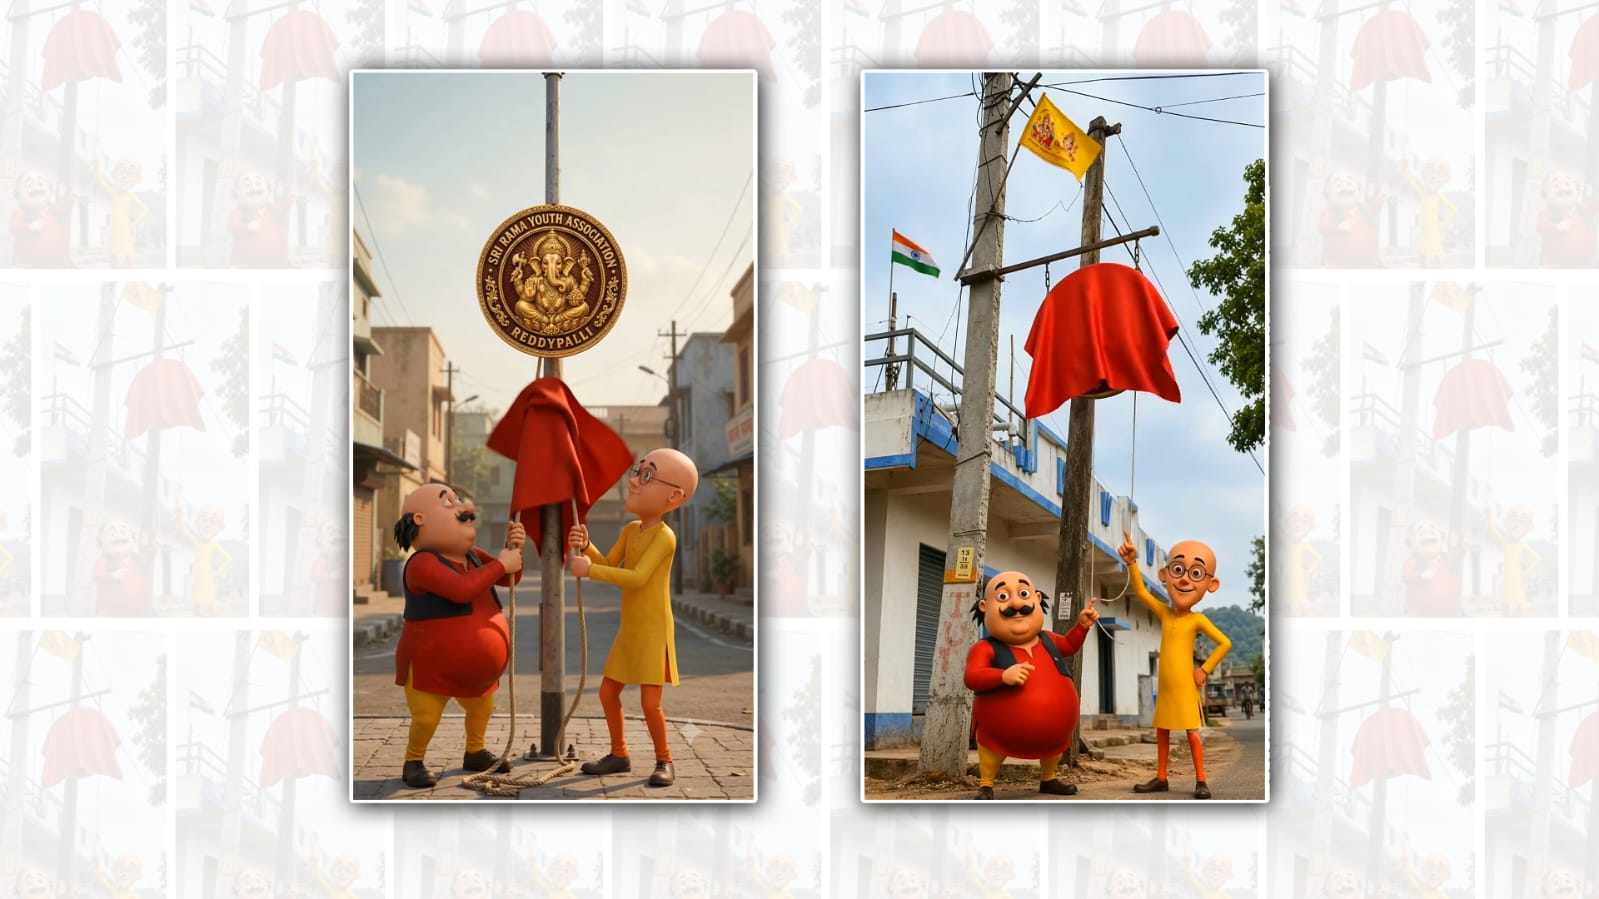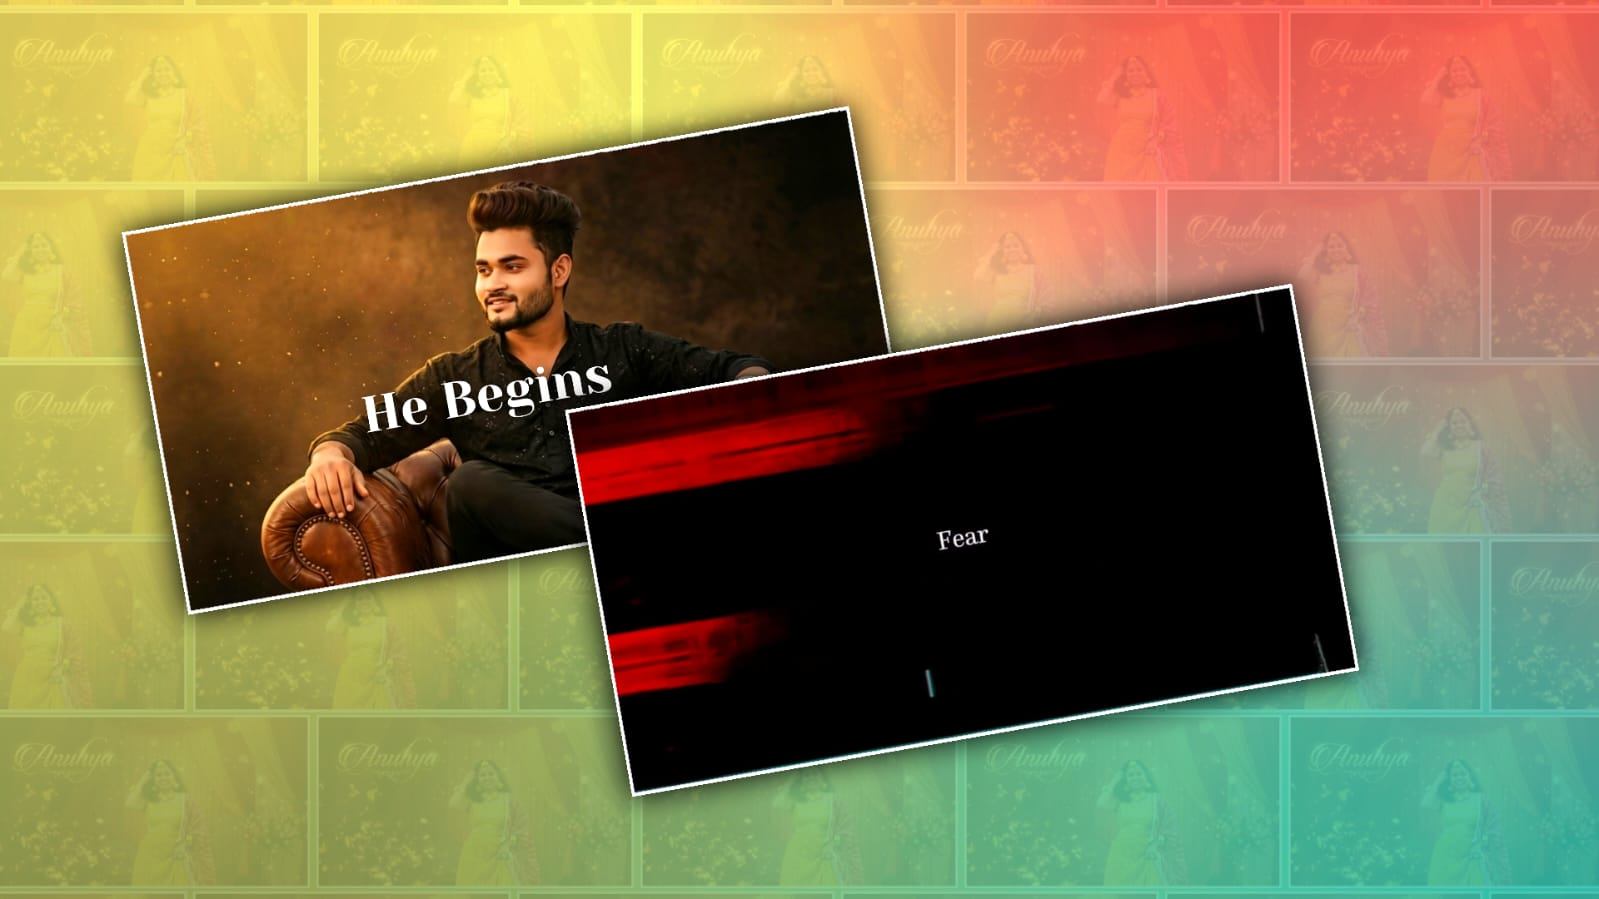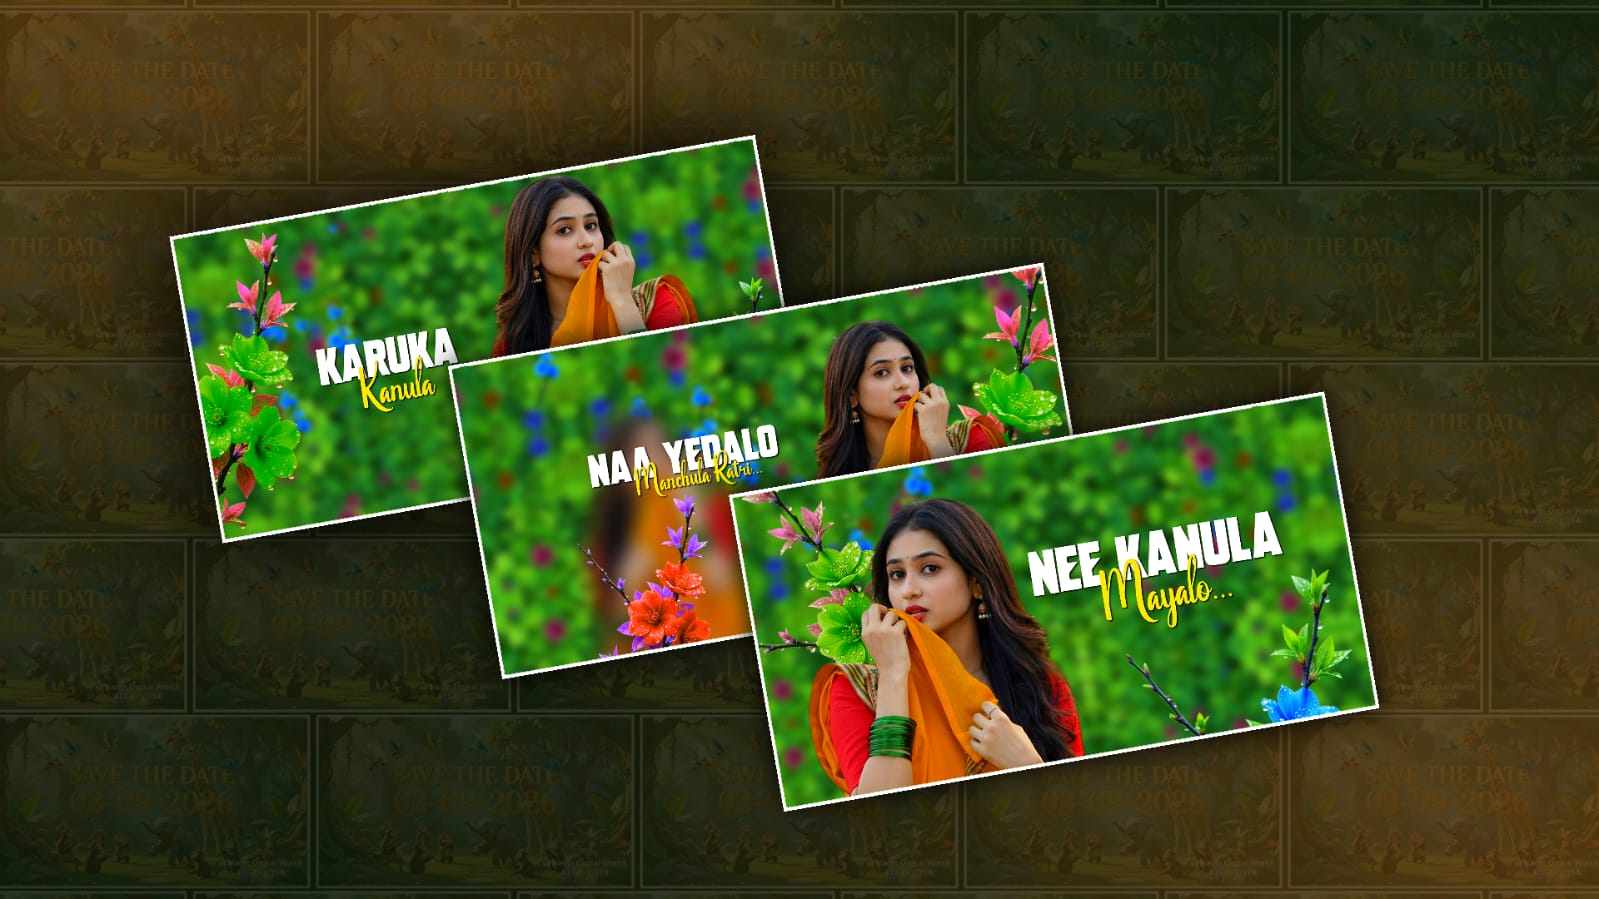
If you have been scrolling through Instagram Reels, YouTube Shorts, or TikTok recently, you have probably noticed how popular lyrical song videos have become. These edits look simple at first, but when the lyrics appear perfectly with the beat, the background moves smoothly, and the colours match the mood of the song, the final result can look extremely professional. The good thing is that you do not need expensive editing software to create this style. With Alight Motion, you can make a trending lyrical song video directly from your phone.
Alight Motion is especially useful for this type of editing because it gives you control over text, keyframes, effects, colours, motion, and timing. Once you understand a few basic tools, creating a lyrical video becomes much easier. You can start with any song you like, but choosing a song with a clear beat and emotional lyrics usually makes the edit more attractive.
The first thing you need is your song and a suitable background video or photo. Your background does not have to be complicated. A slow-motion video, a cinematic clip, a city view, a nature scene, or even a simple dark background can work well. The important thing is that the background should match the mood of the song. For a romantic song, you might choose warmer colours and soft footage, while an energetic song may look better with bright colours and faster movement.
Open Alight Motion and create a new project. Select a suitable aspect ratio, such as 9:16, if you are making the video for Instagram Reels, YouTube Shorts, or TikTok. A vertical format will fill the phone screen and make the video feel more natural on social media. Choose your frame rate and resolution according to your preference. If your phone can handle it, a higher resolution can help the final video look cleaner.
After creating the project, import your background video or image. Adjust its size so that it covers the entire screen. If the background looks too bright, you can reduce its brightness or add a dark overlay. This step is important because the lyrics need to remain easy to read. Many beginners focus heavily on effects but forget about readability. A beautiful lyric edit is not very useful if viewers cannot read the words.
Now comes the main part of the tutorial: adding the lyrics. Add a text layer and type the first line of the song. Do not put the entire song into one text layer. Instead, divide the lyrics into smaller parts. You can use one word, a short phrase, or one line depending on the style you want. Breaking the lyrics into smaller sections gives you much more control over their timing and animation.
Timing is one of the most important parts of a lyrical video. Play the song and listen carefully to the beat. Move the text layer along the timeline until the words appear exactly when they are sung. You may need to listen to the same part several times. At first, this can feel slow, but with practice you will become much faster at finding the correct timing.
For a simple trending effect, you can make each lyric appear with a small zoom animation. Select your text layer, add a keyframe at the beginning, and adjust the scale to make the text slightly smaller. Move forward on the timeline and create another keyframe with the normal scale. When you play the video, the text will smoothly grow into place. You can also use position keyframes to make the lyrics move slightly from the bottom, top, left, or right.
Another popular style is the word-by-word lyric effect. Instead of displaying a complete sentence at once, show each important word separately. This works especially well when the song has a strong beat. For example, if the singer says three important words, you can make the first word appear on the first beat, the second word on the next beat, and the third word on the following beat. Small-scale or opacity animations can make each word feel connected to the music.
Text styling also makes a huge difference. Choose a font that fits the song instead of simply using the first font you find. Clean fonts work well for modern edits, while handwritten or stylish fonts can be useful for emotional songs. Make sure the font is large enough to read on a small phone screen. White text is a popular choice, but you can add a subtle shadow or stroke to separate it from the background.
You can also highlight specific words using another colour. For example, keep most of the lyrics white and make one important word red, blue, yellow, or another colour that matches the background. This simple trick can make the edit look much more interesting without adding too many effects.
Once your lyrics are ready, you can start working on the background. Alight Motion allows you to use effects such as blur, brightness, saturation, glow, and colour adjustments. Try not to use every effect just because it is available. Too many effects can make a lyrical video look messy. Instead, choose a few effects that support the mood of the song.
A soft blur can help bring attention to the lyrics. You can also add a little zoom to the background using keyframes. Start with a slightly smaller scale and gradually increase it throughout the clip. This creates a slow cinematic movement even if you are using a still image. For videos, you can combine this movement with colour adjustments to create a more consistent visual style.
Beat synchronisation can take the edit to another level. When the song has a strong beat, add small movements or flashes exactly on those beats. You could slightly increase the text size, move the background, or add a quick brightness change. The key is moderation. The movement should support the music rather than distract from the lyrics.
Transitions are another useful part of the editing process. If you are using several background clips, change them according to the rhythm or mood of the song. A simple fade transition can sometimes look better than a complicated effect. Smooth editing usually feels more professional than adding random transitions between every clip.
Before exporting, watch the entire video from beginning to end. Check whether every lyric appears at the correct moment. Look for spelling mistakes, awkward text positions, sudden movements, or effects that are too strong. It is easy to miss small problems while editing because you are concentrating on individual parts. Watching the finished video as a viewer helps you notice things that need improvement.
When everything looks good, export the project using a suitable resolution and frame rate. For social media, vertical 1080p is generally a good choice when available. Keep in mind that social platforms may compress your video after uploading, so starting with a clean, high-quality export is helpful.
The biggest secret to making a trending lyrical song video is not using hundreds of effects. Good timing, readable text, smooth animation, and a background that matches the music are much more important. Once you become comfortable with keyframes and text animation in Alight Motion, you can develop your own style instead of copying every trend you see online.
Do not worry if your first edit does not look perfect. Editing improves with practice. Try different fonts, animation speeds, colours, and lyric placements until you find something that feels natural. You can also watch other lyrical edits for inspiration and pay attention to how they use timing, movement, and composition.
With just a phone, a good song, and Alight Motion, you can create attractive lyrical videos that look polished and ready for social media. Start with simple animations, learn how keyframes work, and gradually experiment with more advanced effects. The more you practice, the easier it becomes to turn an ordinary song into an engaging visual experience.