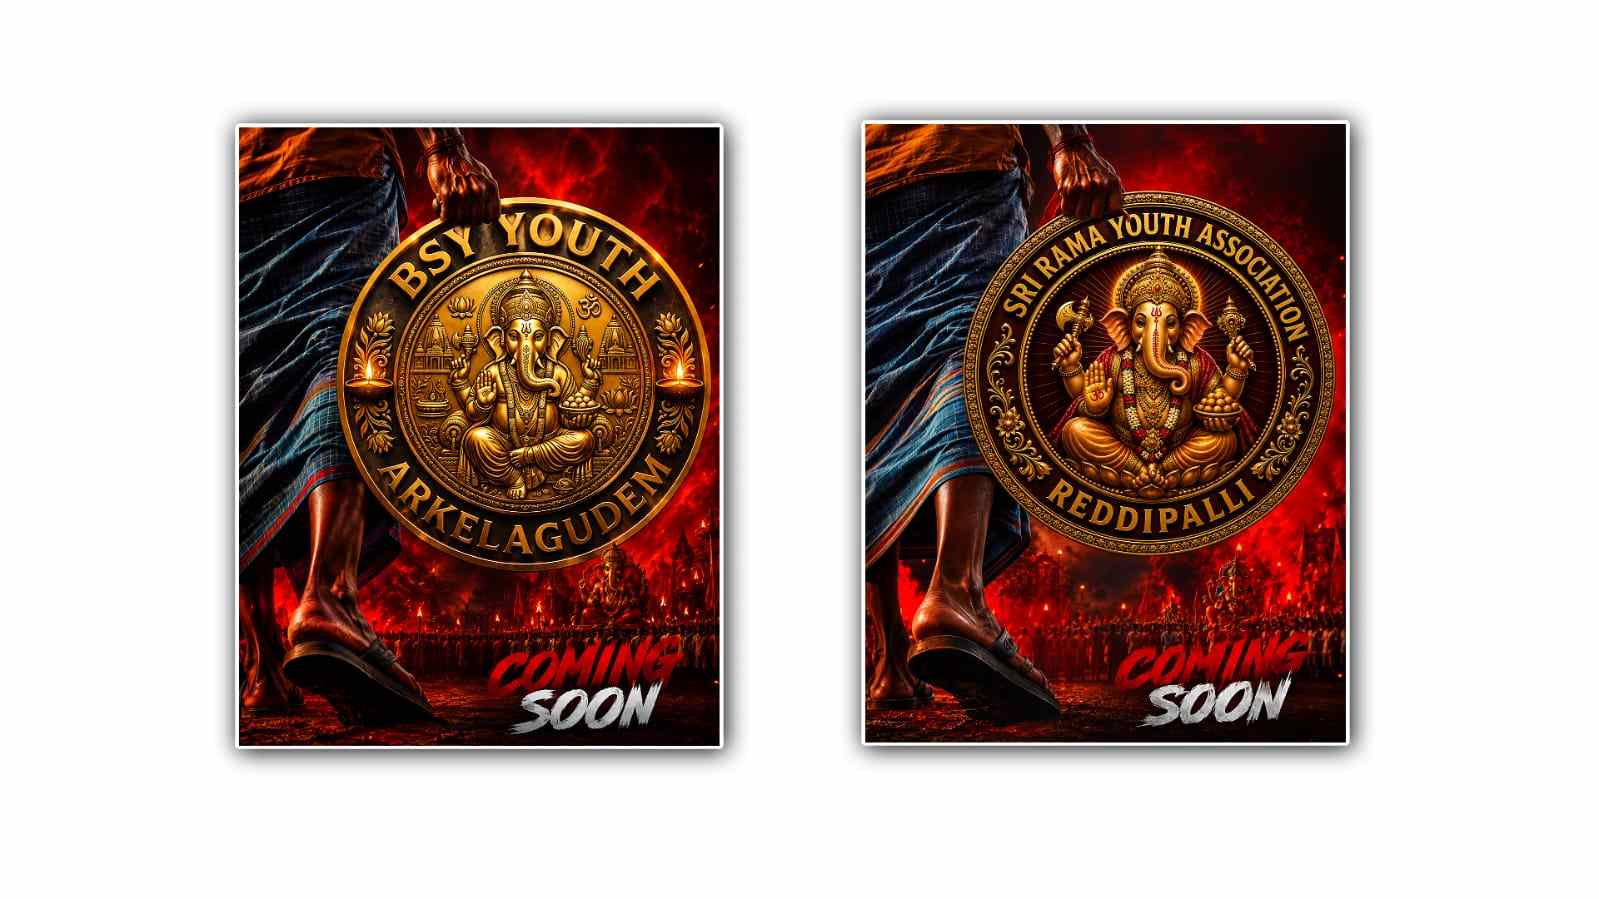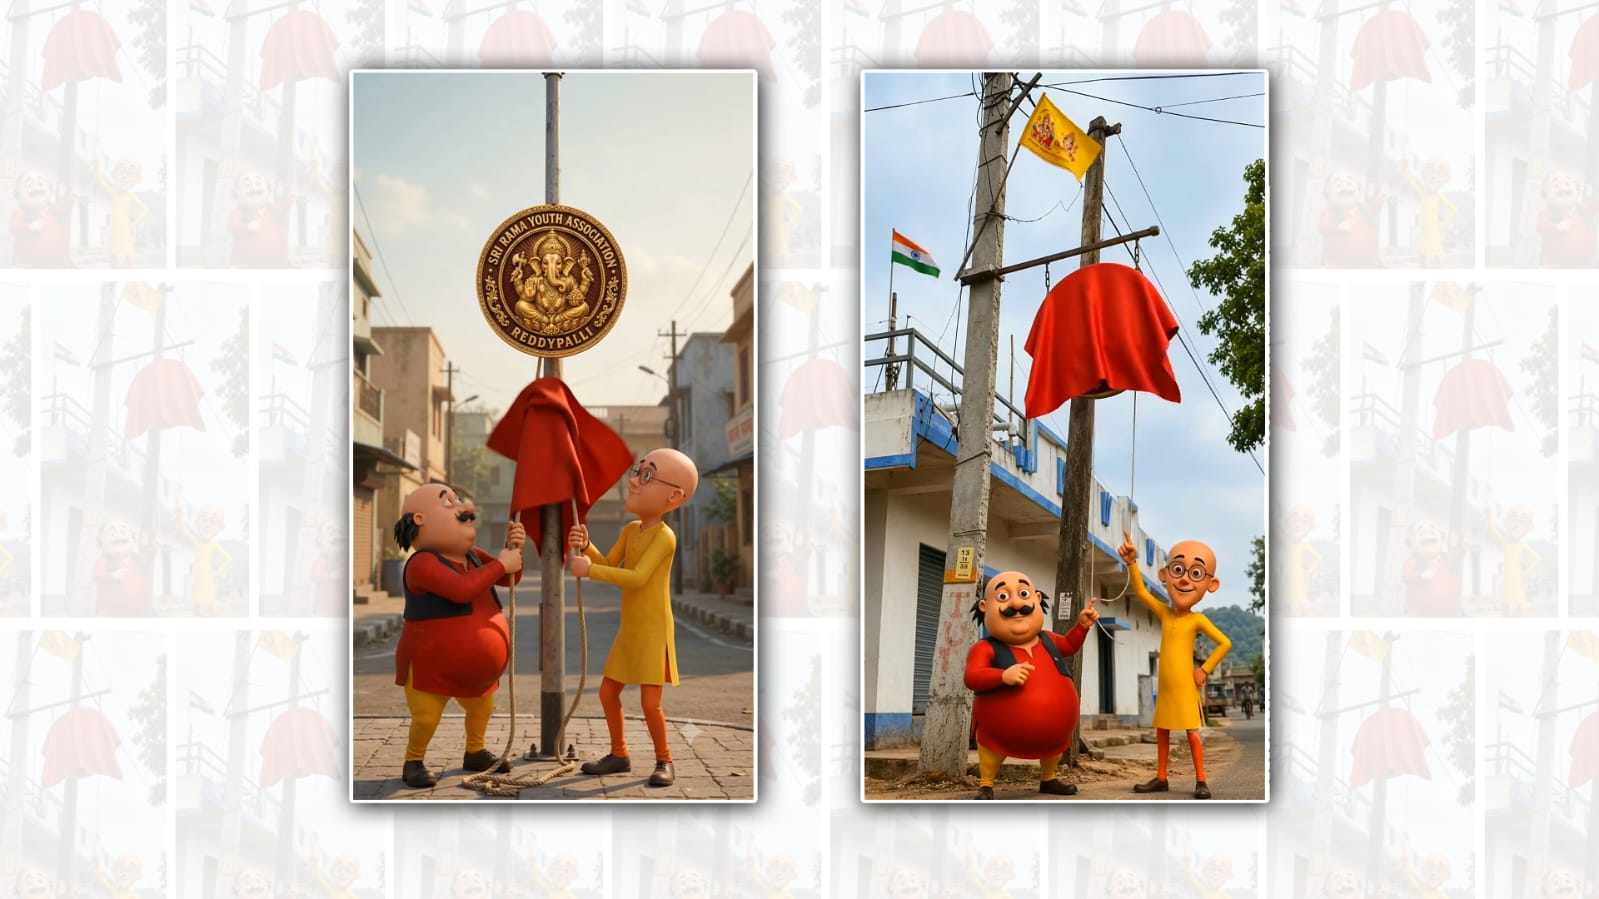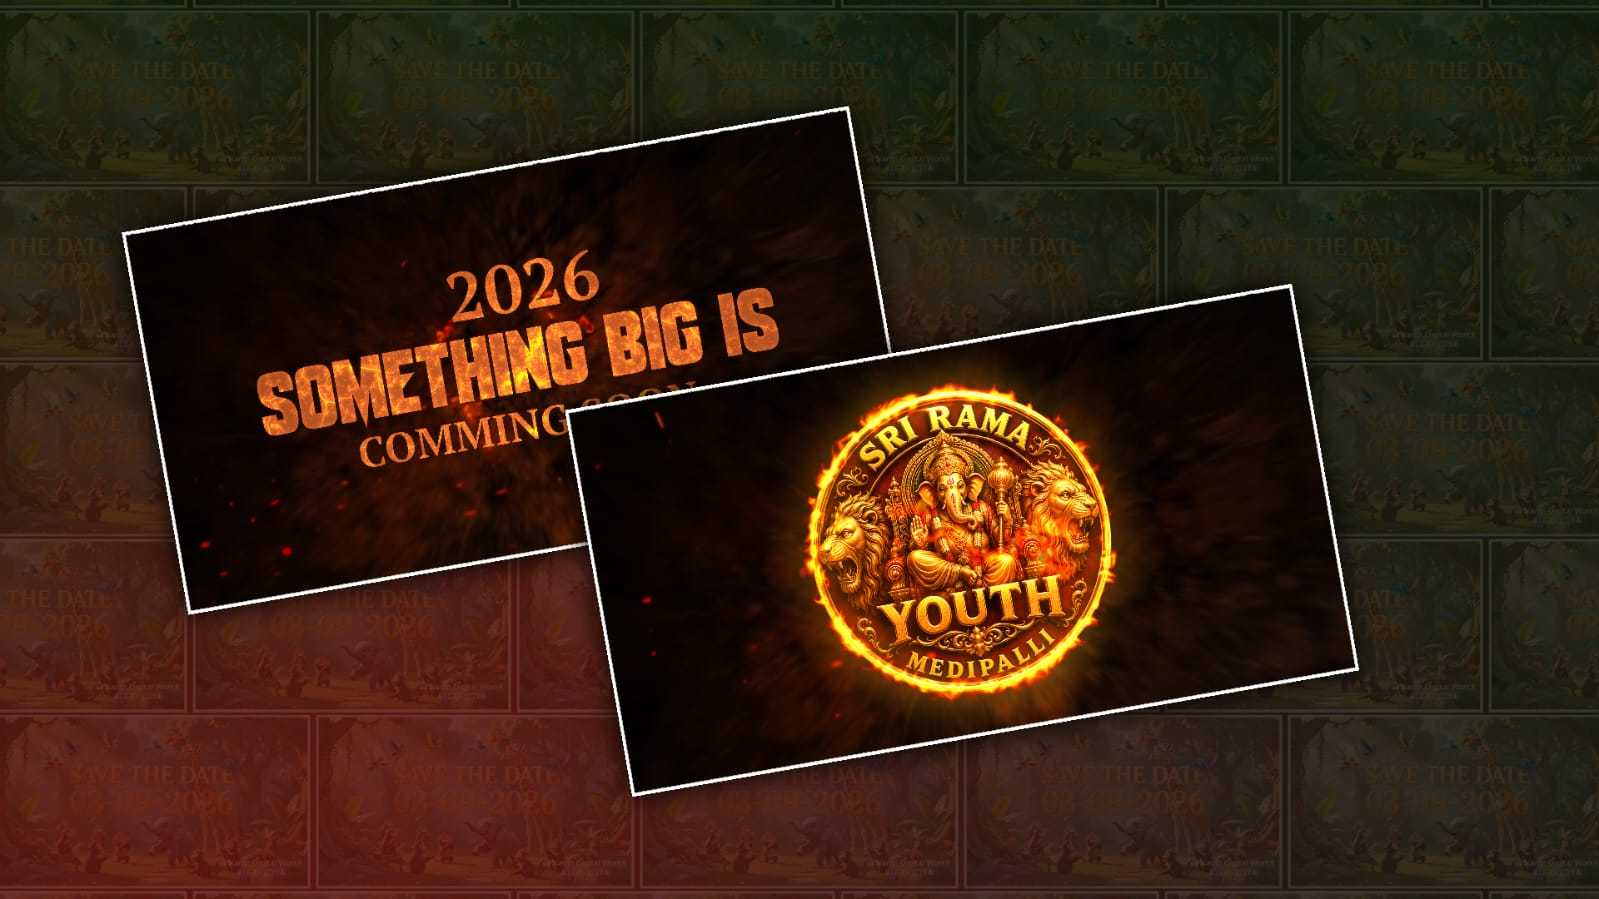
Creating a cinematic youth logo video in Alight Motion is a great way to make a simple logo look energetic, modern, and professional. Youth-style edits usually have a strong combination of bold typography, smooth motion, glowing effects, quick transitions, beat-synced movement, and a little bit of attitude. You do not need expensive software or advanced equipment to create this type of video. With the right idea and some patience, Alight Motion can help you turn an ordinary logo into an eye-catching cinematic intro.
The first thing you need is a clear concept. Before opening Alight Motion, decide what kind of mood you want for the video. A youth logo edit can be dark and dramatic, colourful and energetic, futuristic, street-style, or minimal and premium. Your choice of background, colours, music, and effects should match the personality of the logo. For example, a sports or gaming logo may look better with fast movements, flashes, and powerful sound effects, while a fashion or personal-brand logo may work better with slow camera movement, soft lighting, and elegant transitions.
Start by preparing your logo in a high-quality PNG format with a transparent background. A transparent logo gives you much more control because you can place it over any background without a visible box around it. If the original logo has a low resolution, try to use a higher-quality version because blurry edges become more noticeable when you apply zoom and motion effects.
Open Alight Motion and create a new project. A vertical 9:16 format is suitable for platforms such as Instagram Reels, YouTube Shorts, and TikTok, while a 16:9 format is better for YouTube videos or landscape presentations. Choose a frame rate such as 30 or 60 FPS depending on the style you want. A higher frame rate can make fast movements look smoother, especially when you are creating energetic youth-style edits.
The background is one of the most important parts of a cinematic logo video. Instead of using a completely plain colour, you can create depth with a dark gradient, blurred image, abstract texture, or subtle moving particles. Dark backgrounds often make bright logos stand out strongly. Black, dark blue, deep purple, and dark red are popular choices, but you should select colours that work naturally with your logo.
Import your logo into the project and place it in the centre of the composition. At first, keep the logo relatively simple. The cinematic appearance will come from the animation and effects you add later. You can begin with the logo slightly smaller than its final size and use keyframes to animate its scale. For example, make the logo start at around 70 per cent size and gradually increase it to 100 per cent. Adding easing to the keyframes will make the movement smoother and less mechanical.
Position animation can also make the logo feel more dynamic. Instead of simply making it appear in the centre, you can bring it upward, downward, or slightly from the side. Keep the movement controlled. Cinematic editing usually looks better when the animation feels intentional rather than excessively chaotic. Small movements combined with good timing can create a much more professional result.
A useful technique is to separate the logo into multiple layers if your design allows it. You can animate the main symbol, text, and background elements independently. This gives the video more depth. For example, the logo symbol could move forward while the text appears slightly later. You can also make different parts of the logo fade or slide into position at different times.
Glow is another popular effect for youth logo edits. Alight Motion allows you to experiment with effects such as glow, blur, exposure, colour adjustments, and other visual treatments. Apply effects carefully rather than using maximum intensity. A subtle glow around a bright logo can make it look cinematic, while excessive glow can make the logo lose its sharpness.
Motion blur can be especially useful when the logo moves quickly. It helps connect individual frames and makes fast animations feel more natural. If you use rapid scale, rotation, or position changes, a little motion blur can give the movement a polished appearance. However, it should not make the logo unreadable.
You can also create a dramatic reveal by using a mask or shape layer. A bright line can move across the screen and reveal the logo as it passes. Another option is to use a circular or rectangular mask that expands until the entire logo becomes visible. Combining this with a short flash or glow can create a strong introduction.
Music and sound effects are extremely important in cinematic editing. Even a simple animation can feel powerful when it is synchronised with the soundtrack. Choose music that matches the energy of your logo. Place keyframes or major animation changes on important beats. You can make the logo appear exactly when the beat drops, add a flash when a sound hits, or increase the scale slightly during a powerful moment.
Sound effects can make the edit feel much more complete. Short whooshes can accompany movement, impact sounds can emphasise the logo reveal, and subtle atmospheric sounds can fill quiet sections. Keep the volume balanced so that the sound effects support the music instead of overpowering it.
Colour grading can give the entire video a consistent cinematic appearance. Adjust brightness, contrast, saturation, highlights, and shadows to match the mood. A slightly darker image with controlled highlights can create a dramatic look. If your logo uses bright colours, avoid making the background too colourful because the main subject may lose attention.
Adding particles, dust, light leaks, or small floating elements can also increase visual depth. These details should remain subtle. The goal is to make the background feel alive without distracting viewers from the logo. You can use low opacity and blur to push background elements further away visually.
Transitions should also be used with purpose. A quick zoom, flash, blur, or directional movement can connect different scenes. Avoid adding a different transition to every second of the video. Consistency usually looks more professional. If the video is only five to ten seconds long, a few well-timed movements are often enough.
One useful trick is to add a camera movement over the entire composition. Instead of moving only the logo, place your elements inside a larger group and animate the group slightly. A slow zoom forward can create the feeling of a camera approaching the subject. Combining this with foreground particles or light effects can make a simple 2D logo feel more three-dimensional.
Finally, watch the complete video several times before exporting it. Look for moments where the animation feels too fast, too slow, or disconnected from the music. Check whether the logo remains readable and whether the effects are helping the design. Small timing adjustments can make a surprisingly big difference.
When everything looks correct, export the video at a suitable resolution and frame rate. For social media, make sure the aspect ratio matches the platform where you plan to upload it. Avoid repeatedly exporting and re-editing the same compressed video because this can reduce quality.
The key to a cinematic youth logo video is not the number of effects you use. It is the combination of timing, movement, sound, lighting, colour, and simplicity. Alight Motion gives you enough tools to create impressive results if you focus on these fundamentals. Start with a strong logo, build an interesting background, animate with smooth keyframes, synchronise the important moments with music, and use effects only where they improve the visual story. With practice, you can develop your own editing style and create logo videos that look energetic, modern, and professional.