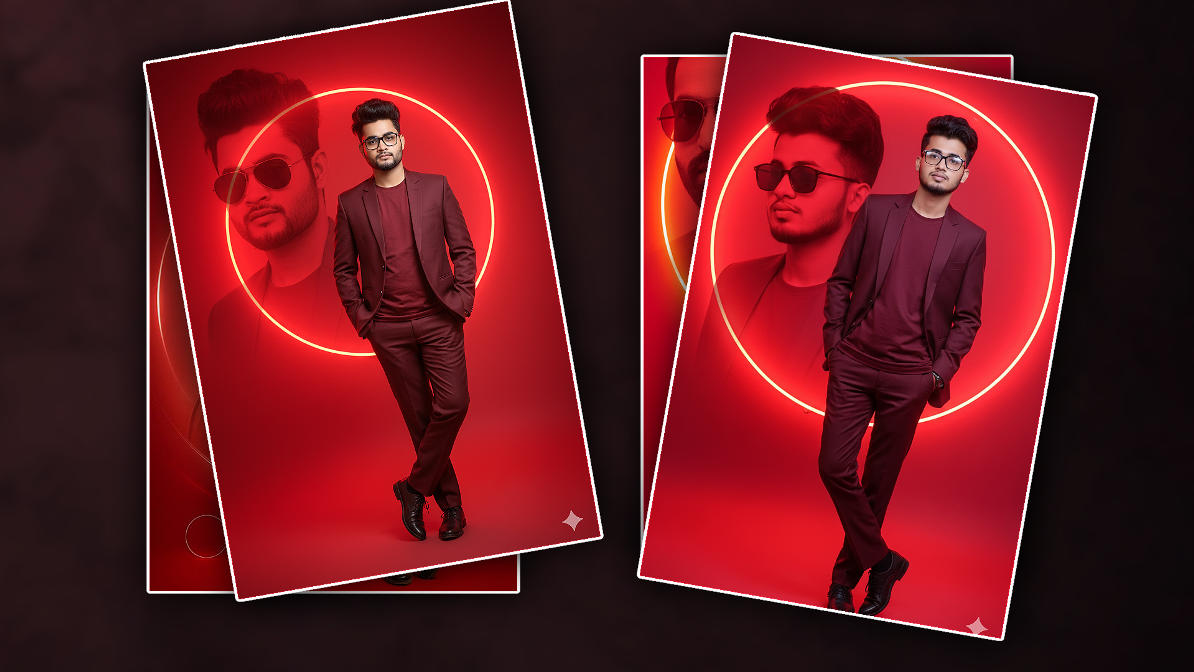
Hello friends, welcome to our website. Friends, in today’s article, let’s learn how to edit a beautiful red background closing effect photo. It is currently trending. Many people are editing it, and they are also editing it easily. This is how an artificial intelligence is editing it. It is very ea,sy and anyone can edit it. I will explain it to you clearly, step by step, in an easy way.y way. But I have explained it to you in two ways, one with artificial intelligence and two using any application, because everyone needs to know how to write a text to edit with artificial intelligence. So those who have come can edit it easily, but those who do not, it will be a little difficult, so I will explain it to you using another application. First, I will tell you how to use an application, then I will also tell you how to edit using AI.
How to do photo editing in the app
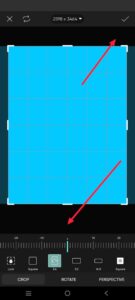 We have many applications for photo editing, among which those who find it easy will use that application, but I will explain to you about an easy application, its name is Pics Art. This application is an easy photo editing application. It has many things like wedding cards, birthday banners, etc. Now, let’s learn how to edit. First you open this application, there will be a plus icon in pink color, click on it, after clicking on it, select any background in it, first you have to take this background as well as red color, if you have any image, add it directly from the gallery or if you want to add any color in the background, click on any photo for editing, then it will directly take you to colors, if you have many types of images, select red color in it, then after selecting the sisters, you have to take the photo size i.e. ratio as you want, after taking it like that, you have to add its blowing effect, for this there are some options at the bottom, among them there is an adjustment option, click on it, there are some options in it, using the options you have to edit it so that it gets a little glowing, after lighting, now you also have to apply a book-length circle effect in the background.
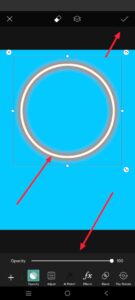 For this, you will have some more options at the bottom, in which there will be a sticker option, click on it, after clicking on it, you will see a search option, click on it and in it you have to do it once what kind of circle you want, for example, search for red neon color glowing circle, you will get many circles, click on any one circle, then adjust that cirdcle to the center where you want it,adjustingustment, now you have to apply another photo, now you have to apply your photo. Add it. While adding your photo, you have to check whether the background of your photo has been removed or not. If there is no background remove page formula, you can click on the add text at the bottom, after clicking, add a photo from the galleries, add it and now make adjustments. After making adjustments, if the photo background is not removed, there will be an eraser tool option at the top. Click on it. After clicking, there will be a person option below. If you want to remove your photo like this, you can make adjustments there.
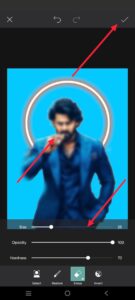 If you want to add any effects and text, if there are options at the bottom, click on that text option, click on it and click on the seventh text there, and you can also add the text of your choice. If you want to add extra photos and PNG photos, there are many options in i, you can add them using them. Like this, click on the first right mark to combine all the photos taken. After clicking, click on the tool option to increase the clarity of this photo. After clicking, there will be some options in it, in which there will be a Henyans option again. After taking it, it will convert your photo into HD quality. Easily, your photo converted in this way will have a sixth mark on the top right side. Click on it and click on the Save to Gallery option at the bottom. The photo will be saved to my gallery. You can do this photo editing with any application.
Now let’s see how to edit with AI.
Everyone is editing using this tour, but now with the increase in technology, many tools have come out, out of which I will explain to you now using a tool that everyone uses, the name of that tool is Gemini, in which you can edit photo editing, video editing, and all, and it answers every question you ask within a few seconds. It is also trending now. Everyone is solving many problems using it, but now let’s see how to edit using it. First, open the application or website related to this tour. After opening it, you will see a plus icon option at the bottom. Click on the option, then there will be an option like upload files or upload photo, to attach a photo, or to attach a file. Click on it and the director will take you to the air. Just select your photo. However, when taking a selfie, you should select only photos that are in HD quality. Then it will edit it properly. Under the selected photo, you should explain clearly in a language that you understand. For example, now the photo I uploaded has a background of neon red blowing circles and a studio quota red blowing background. You should explain clearly so that it is understandable. In addition, you should also change the dress colour. If you give it a text about everything, it will generate a photo in a few seconds after submitting it. You can click on that photo and save it. No matter how many times you give it multiple times, it will edit it all the times. In this way, you can use this tool. You can easily edit photos using it. If you have any questions or doubts about this, ask in the comments section.
PROMPT HERE.
A complete-frame portrait of a younger, fashionable guy with dark hair and a well trimmed beard. He is sporting a deep, rich maroon or burgundy match over a matching stable T-blouse. He has black-framed eyeglasses and is status in a assured, relaxed pose with one leg crossed over the alternative and his fingers in his pockets. The historical past is a vibrant, placing monochromatic purple with a sparkling, neon-like circle or ring effect at the back of him. There is likewise a large, superimposed near-up portrait of the man wearing dark shades to the left, which is blended into The purple background. Professional studio lighting, cinematic, excessive detail, ultra-realistic. Keep unique face one hundred% correct I uploaded image