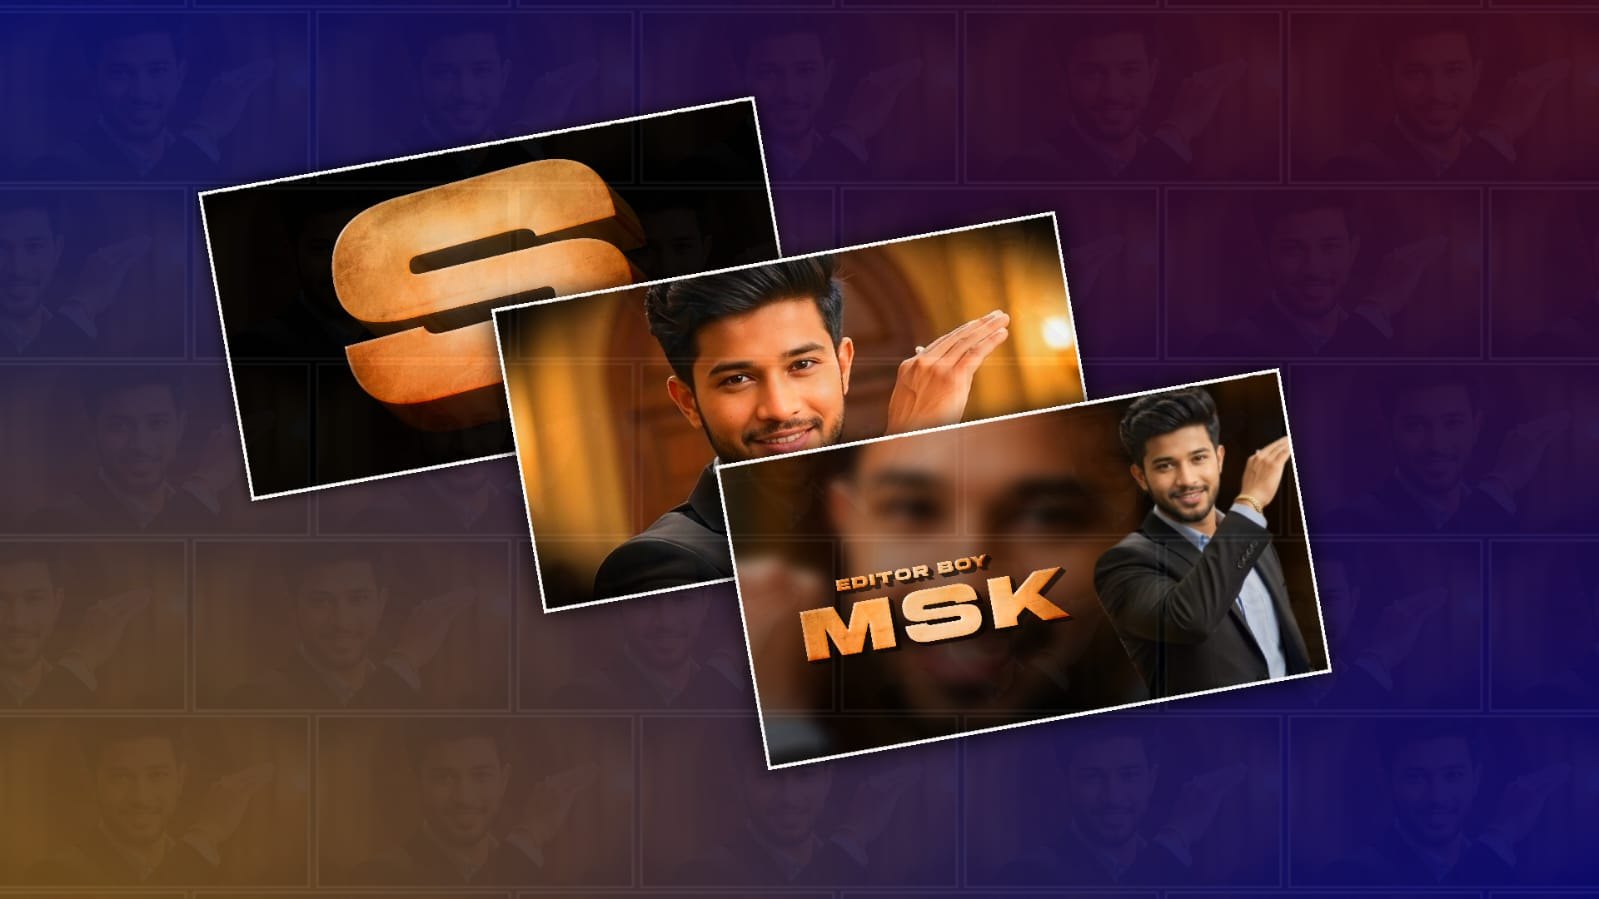
Editing a cinematic T3D title card in Alight Motion is one of the easiest ways to give your videos a professional and dramatic introduction. Title cards are often used in movie trailers, cinematic edits, travel videos, gaming montages, and short films because they immediately capture attention and create a strong first impression. The T3D style has become especially popular among mobile editors because of its clean three-dimensional appearance, glowing effects, smooth camera movement, and realistic shadows. Even if you are new to Alight Motion, you can learn to customise a cinematic T3D title card by understanding how each layer and effect works instead of simply replacing the text.
The first step is opening the T3D project in Alight Motion. Most creators download a ready-made project file and import it into the app. After importing the project, open the composition and wait for all layers to load completely. A cinematic template usually contains multiple layers such as the main text, background, lighting effects, particles, shadows, overlays, and camera movement. Before making changes, preview the project once so you understand how the animation plays from beginning to end. Watching the original animation helps you identify which elements need editing and which should remain untouched.
Next, locate the text layer that contains the title. In most T3D projects, the main text layer is clearly labelled, making it easy to find. Tap on the text layer and choose the edit option. Replace the existing title with your own text while keeping the font size balanced. Extremely long titles may not fit properly within the animation, so shorter text usually delivers the best cinematic look. If your new title contains more letters than the original, you may need to reduce the font size slightly to prevent overlapping or clipping during the animation.
The font plays an important role in creating a cinematic appearance. Many editors prefer bold serif fonts because they resemble movie titles, while others choose modern sans-serif fonts for a cleaner look. Whatever font you select, make sure it matches the mood of your video. A horror edit may look better with darker and sharper typography, whereas a travel montage often benefits from elegant and minimal lettering. Consistency between the font and the video theme creates a more professional result.
Colour selection is another important part of editing a T3D title card. White remains the most popular choice because it stands out against dark backgrounds and works well with glow effects. However, gold, silver, blue, and red are also common depending on the style of the edit. If your template includes gradient colours, adjust them carefully without making the design too bright. Cinematic titles usually rely on subtle colour combinations rather than highly saturated tones. A balanced colour palette helps maintain the premium movie-like appearance.
Many T3D title cards include shadow effects that create the illusion of depth. Shadows separate the text from the background and make the animation appear more realistic. After editing the text, check whether the shadow still aligns correctly. If necessary, adjust the shadow’s opacity, blur, and distance. Small refinements often make a noticeable difference in the final output. Shadows should remain soft and natural instead of appearing overly dark or harsh.
Glow effects are another signature feature of cinematic title animations. These effects add brightness around the text and increase visual impact. In Alight Motion, glow intensity can usually be adjusted using the effect controls. Avoid increasing the glow too much because excessive brightness reduces readability. A gentle glow enhances the title without distracting viewers. If your project contains multiple glow layers, edit them together to maintain consistency throughout the animation.
Many professional T3D templates also include motion blur. This effect makes moving text appear smoother and more realistic. If your animation seems sharp or choppy after editing, verify that motion blur remains enabled. Since motion blur depends on animation speed, changing keyframes may require additional adjustments. Keeping the original motion settings usually preserves the cinematic quality of the template.
Camera movement contributes significantly to the dramatic feeling of a title card. Some templates use zoom-in animations, while others slowly rotate or pan across the text. Instead of changing these camera keyframes immediately, preview the animation after replacing the text. In many cases, the existing movement already fits perfectly. Only adjust the camera if your new title extends beyond the visible frame or if the composition feels unbalanced.
Background elements also deserve attention. Cinematic T3D templates frequently include dark textures, smoke, dust particles, light leaks, or blurred scenery. These effects create atmosphere without overwhelming the title. If you replace the background with your own footage, ensure that the title remains clearly visible. Lowering the background brightness or applying a slight blur can improve readability while maintaining the cinematic style.
Particle effects are often used to create movement around the title. Floating dust, sparks, snow, or glowing particles add life to the composition. When editing the project, avoid removing these layers unless necessary. If you wish to customise them, adjust the particle size, speed, or opacity gradually. Small changes usually look more realistic than dramatic modifications.
Timing is equally important. A cinematic title should appear long enough for viewers to read comfortably but not so long that it slows the pace of the video. If your title animation lasts only a few seconds, ensure that the text fades in smoothly, remains visible briefly, and exits gracefully. Sudden cuts or abrupt transitions can reduce the professional quality of the edit.
After completing the text customisation, preview the entire animation several times. Watch for spelling mistakes, alignment issues, overlapping effects, or unexpected movement. Viewing the project frame by frame helps identify small errors that may not be visible during normal playback. Correcting these details before exporting saves time and produces a cleaner final result.
Export settings also influence the final quality. Choose a high resolution such as 1080p or higher if your device supports it. A frame rate of 60 FPS provides smoother motion for cinematic edits, although 30 FPS is sufficient for many projects. Selecting a higher bitrate preserves detail and reduces compression artefacts, especially when uploading to platforms like YouTube or Instagram.
Another useful editing tip is organising your project layers. Complex T3D templates often contain dozens of elements, making navigation difficult. Renaming important layers such as Text, Shadow, Glow, Camera, and Background simplifies future edits. Layer organisation becomes even more valuable when revisiting the project weeks or months later.
Experimentation is one of the best ways to improve your editing skills. Try different fonts, colour combinations, glow strengths, and camera movements to discover your preferred cinematic style. Saving multiple versions of the project allows you to compare results without losing your original settings. Over time, you will develop an eye for balanced compositions and smoother animations.
Creating a cinematic T3D title card in Alight Motion is not only about replacing text but also about understanding how typography, lighting, motion, depth, and visual effects work together. Every adjustment contributes to the overall mood of the animation. By paying attention to details such as shadows, glow, motion blur, timing, and colour harmony, you can transform a simple template into a polished title sequence that looks professional and engaging. With regular practice and careful editing, you will be able to create cinematic intros that enhance your videos and leave a lasting impression on your audience.
Prompt 1
Use the uploaded face photo as the ONLY identity reference. Preserve the person's face 100% exactly. Do not change the facial features, hairstyle, beard, mustache, skin tone, face shape, eyes, nose, lips, ears, age, or expression. Keep the identity perfectly intact.
Only apply the style, pose, outfit, lighting, and composition from the reference image.
Create a premium ultra-realistic 9:16 portrait. Half-body (waist-up) framing only. The person is standing in a luxurious courtroom/parliament-style hall with elegant wooden interiors, warm cinematic lighting, chandeliers, and a softly blurred audience in the background (shallow depth of field).
Pose: Body turned about 45° to the side while looking directly at the camera with a confident smile. One hand raised diagonally near the shoulder in the same stylish gesture as the reference, the other hand naturally relaxed.
Outfit: Premium black blazer, light sky-blue formal shirt, beige formal trousers, black leather belt, elegant gold bracelet, perfectly tailored fit. No sunglasses.
Lighting: Soft cinematic HDR lighting with natural skin tones, bright and smooth face, realistic shadows, premium color grading.
Camera: Eye-level, 85mm portrait lens, shallow depth of field, DSLR look, ultra-sharp focus on the face.
Quality: Hyper-realistic, 8K, ultra-HD, highly detailed skin texture, natural colors, professional editorial fashion photography, premium formal portrait.
Prompt 2
Use the uploaded person's photo as the ONLY identity reference.
Preserve the person's face 100% exactly. Do not change the facial features, skin tone, beard, hairstyle, hairline, eyes, nose, lips, ears, face shape, age, or expression. The uploaded face must remain identical.
Recreate the style of the reference image only.
Create a premium ultra-realistic half-body portrait (waist-up), 9:16 vertical composition. The person is standing inside a luxurious courtroom/parliament hall with elegant wooden benches, grand pillars, warm golden lights, chandeliers, and a softly blurred audience in the background. Cinematic depth of field with natural bokeh.
Pose: Body turned about 45° to the side while looking directly at the camera with a confident smile. Right arm raised with the elbow bent and fist near shoulder level, matching the reference pose naturally. Left arm relaxed by the side.
Outfit: Premium black formal blazer, light blue formal shirt, black tailored trousers (only upper portion visible), black leather belt. Perfectly fitted business style. No sunglasses. Minimal accessories only.
Lighting: Soft cinematic warm lighting, HDR, professional studio-quality face lighting, smooth bright skin, sharp eyes, realistic textures, high contrast, natural skin tones.
Camera: Medium portrait (waist-up), 85mm lens, shallow depth of field, DSLR quality, ultra-detailed, 8K, photorealistic, premium editorial portrait.
Negative Prompt: low quality, blurry, cartoon, CGI, distorted face, extra fingers, bad anatomy, duplicate body parts, cropped face, overexposed, oversaturated, watermark, text, logo, noise, low resolution.
Prompt 3
Use the uploaded person's photo as the ONLY identity reference.
Preserve the person's face 100% exactly. Do not change the facial features, hairstyle, beard, skin tone, face shape, eyes, nose, lips, age, expression, or body proportions. Keep the uploaded face exactly the same.
Recreate only the style, pose, outfit, composition, and background from the reference image.
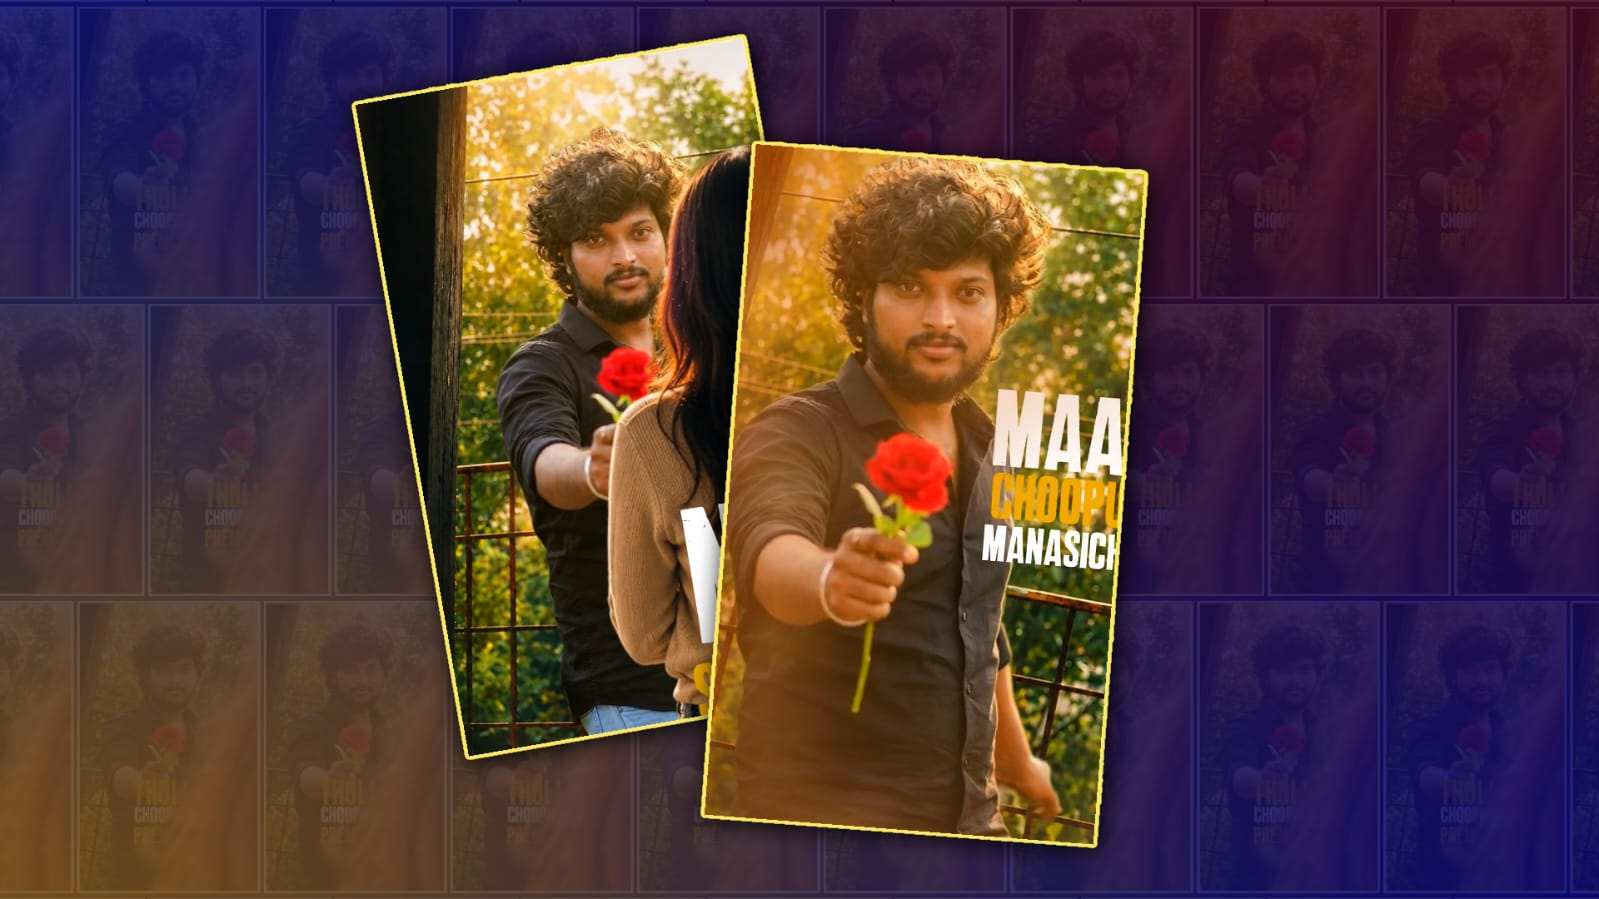
Create a premium ultra-realistic 9:16 portrait. The person is standing in a beautiful green park with lush trees and a softly blurred background. Natural daylight with cinematic HDR lighting and shallow depth of field.
Pose: Three-quarter body portrait (mid-thigh up). Body turned slightly to the left while looking toward the right with a confident natural smile. Right arm fully extended forward at shoulder height with the palm facing downward, matching the reference pose naturally. Left arm relaxed beside the body.
Outfit: Premium black tailored blazer, light blue formal shirt with the top button open, black formal trousers, black leather belt. Clean business style with a perfect fit. No sunglasses, no hat, no extra accessories.
Face: Smooth, bright, natural skin, sharp eyes, realistic beard and hair details, premium portrait retouching while preserving the exact identity.
Camera: Eye-level angle, 85mm DSLR lens, shallow depth of field, soft natural bokeh, ultra-detailed, photorealistic, 8K, magazine-quality portrait.
Negative Prompt: low quality, blurry, cartoon, CGI, distorted face, different face, bad anatomy, extra fingers, cropped body, watermark, text, logo, oversaturated, noise, artifacts.