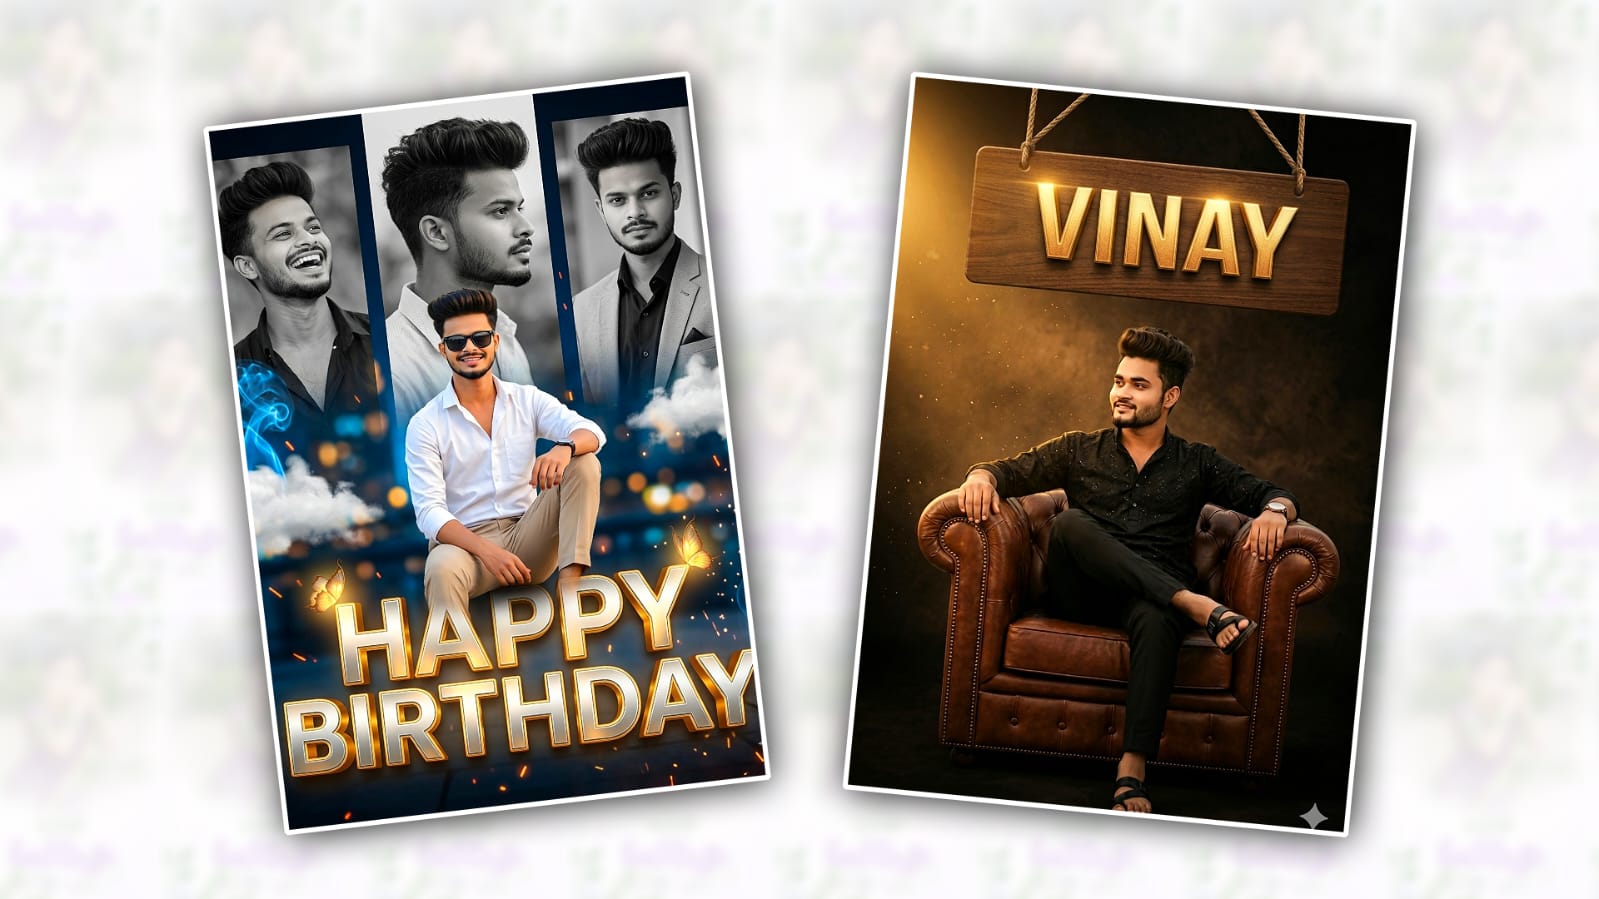
Hello guys, welcome to our page. Friends, today in this article, I will explain to you how to edit a wonderful, beautiful double photo edit, which I will explain to you completely, step by step that anyone from a beginner to a professional can easily edit that too without knowledge of editing. I will easily explain this to you so that you can understand this. Read this article completely. You also try and edit it on this page. We will upload articles related to such editing, as well as technology and new developments, such as which will be very useful for. First, let’s see what we need to edit in this photo. hHereWe don’t have many applications to edit photos. Moreover, many people are now editing in a straightforward way using artificial intelligence, and it also saves a lot of time. I have explained it to you using an application.
You must have Alight Motion installed on your mobile.
One or two of your personal photos.
A beautiful background image
First of all, after you open this application, you will see some buttons like Home and Tutorials, and Projects Complete at the bottom. So Home is the version we are in, and how to use the project. In the Tutorials button, many tutorials are displayed to help you learn about this application. Also, there are Projects. All the projects you have created are saved in it. Also, the last option is Templates. This template option is used to add any project report or add an XML file. Also, there is a plus icon in the middle of these. This is useful for us to use to create a new project.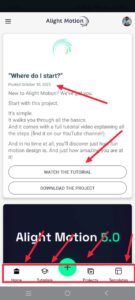 Click on this plus icon, and then you will have two tabs here, in which the first project is the second element. All the options are the same in the project or in the element, but the one we use regularly is the project. In this project, the first project name should be selected or typed. Then the resolution, which is the quality, should be selected. You should also select the quality here, in HD quality, then the frame rate and background colour should be selected. Then the last option is Create Project. If you click on this, the interface of that application will open for you.
 Here again, after the interface opens, you will see a plus icon. When you click on this icon, you will get some options, including the first option Ship, the second option Media, the third option Audio, the fourth option Object or Element, and the fifth option Complete. There are some more options on the right side, which will help us in editing. So let’s learn about each of them now.
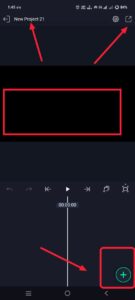 In this, if we have any photo in the background or if we want to add any colour, then we have to click on the shape for this. In this shape option, we only have shapes in various bangles. We have to use them according to our needs. Take a rectangular shape in it. After taking the shape, when we click on it, it will be added directly to the screen, that is, in the timeline. There you will again have an option, its name is Move I Transfer. After we go into it using this option, we have some options like reducing its size, increasing it, and rotating it. Using these, you can make adjustments to that shape on that screen.
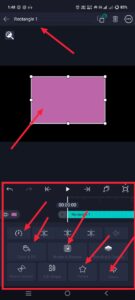
In this, if we have any photo in the background or if we want to add any colour, then we have to click on the shape for this. In this shape option, we only have shapes in various bangles. We have to use them according to our needs. Take a rectangular shape in it. After taking the shape, when we click on it, it will be added directly to the screen, that is, in the timeline. There you will again have an option, its name is Move I Transfer. After we go into it using this option, we have some options like reducing its size, increasing it, and rotating it. Using these, you can make adjustments to that shape on that screen.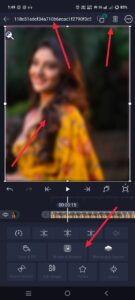 Now you need to apply another photo on top of the photo you took, but if you want to apply this photo, you have to completely remove the background of your photo, because we have an option in these applications that we can simply erase only if the background has a single colour. Moreover, we can edit it even if there are multiple colours. However, for clarity, it does not remove the background of the subject perfectly, so you can use any other application or site to remove it completely. After that, click on the plus icon again on the photo that you have removed, click on the media option, and then select another photo from the gallery and adjust that photo to be exactly centred and on the left side at the bottom. To adjust the colour, sharpness, and brightness of the photo you have adjusted, click on the Effects option again, go into it, and click on Add Effects again. There are many effects in it.
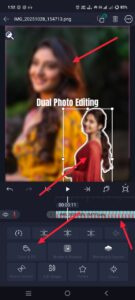 Select some of the effects you like and use the options in them to adjust them so that it is beautiful and clear in HD. You can also write anything you like on the photo you are editing. For this, you come back again and click on the plus sign and on the right side, the text option will appear. Click on it. After clicking, you will go to edit. Enter the text you like in it. Then there will be some options related to it at the top. In it, centre it. Then apply the font style. Then there will be an option to select its size, and next to it, there will be colours. After changing all this, after you add this text in the centre, now move it to where you want the text to be. Now, if you think everything is okay, check it again. Now, if you want to save these photos, there will be a share option at the top on the left side. After clicking on this, there will be many options. Again, there will be an option called Current Frame Has PNG. If you click on this option, you will have an option called Export at the bottom. After clicking on this, you will again get the save option after a few seconds. If you click on it, that photo will be yours. It will be successfully saved to the gallery. This way,y you can edit your photos like double or dual photo editing.
Prompt
Create a Cinematic photography poster with traveller vibes in a Moody, Misty Look, using a face from the reference photo. Composition features two poses in one frame: a large, dramatic close-up portrait on the right side of the frame, face turned slightly to the right with soft lighting, and a scene on the left side of the frame, walking toward the camera on misty green hills. A Highly Detailed, 8K Hyper-Realistic Name. Please keep the original face 100% accurate. I uploaded a photo.