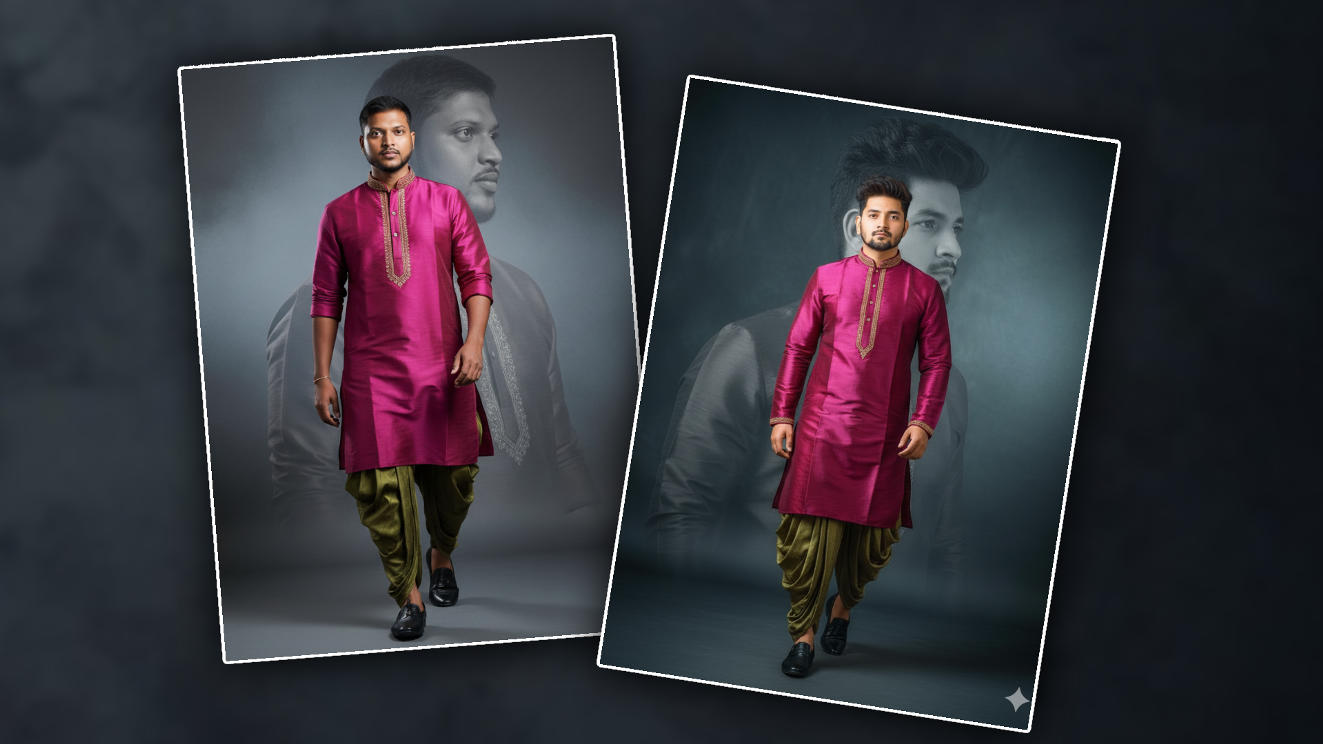
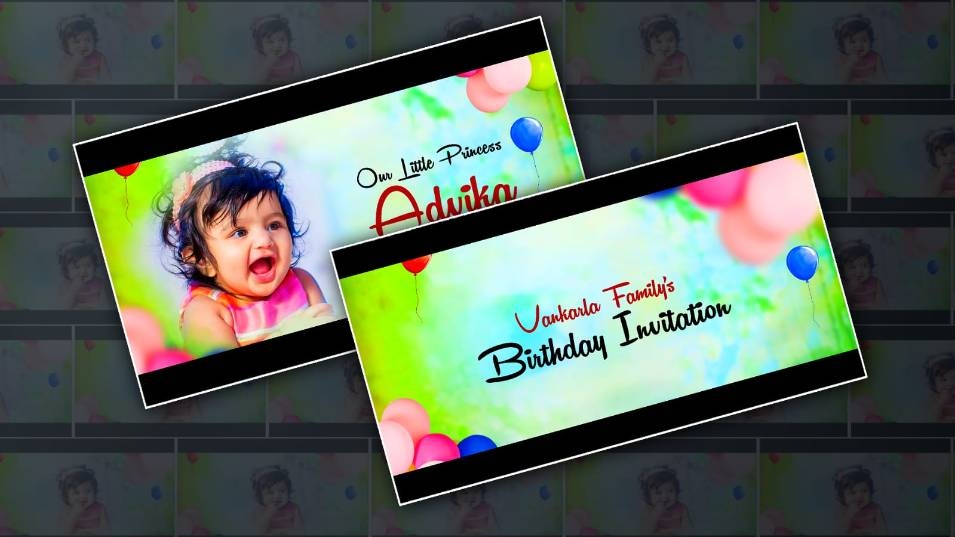
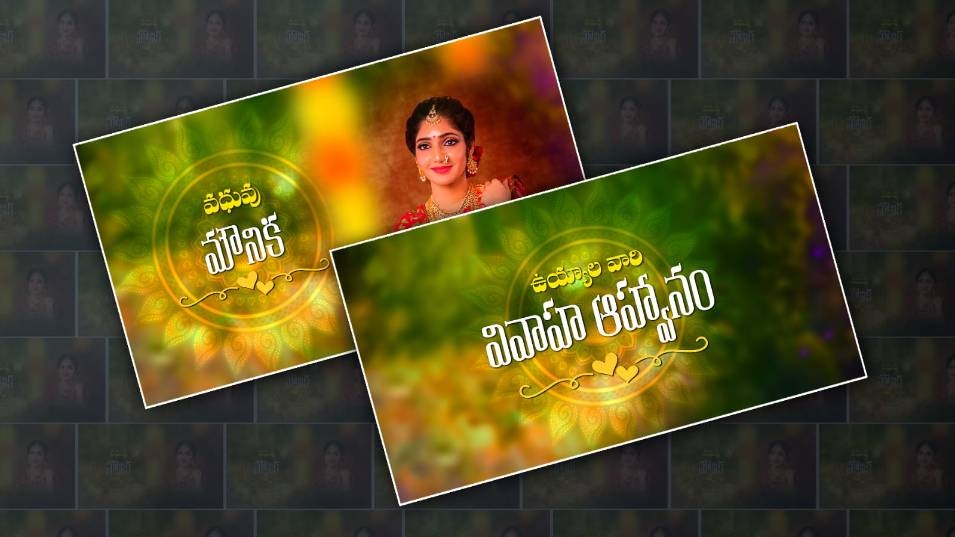
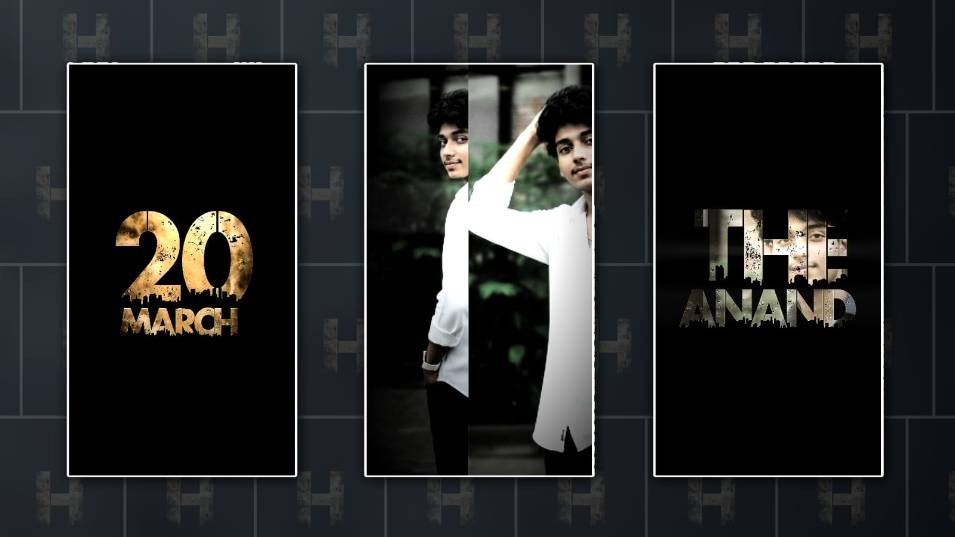
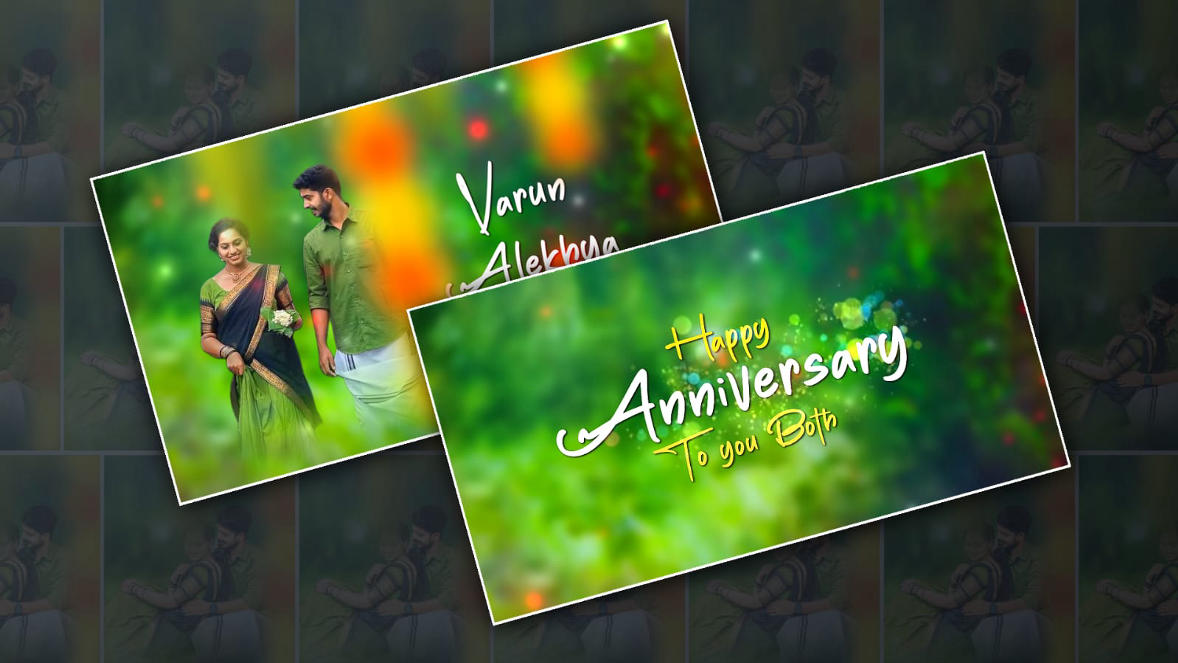
Hello friends, welcome to an interesting article. This photo editing is interesting, different and attractive. Everyone can edit it. I will explain it in simple steps. However, I will also tell you what applications you need to edit this photo. I will explain it in easy applications.
First, let’s see what these require.
- One or two personal photos of yourself
- Background: Any colourful background of your choice.
- If you want to add any more PNG images, those are also
- Application or software
- Picsart or Alight Motion
I will explain why I am using this application, because it is a video editing application, and it has all the tools of a photo editing application.
How to edit PicArt applications
This application is available to you for free. First, open this application. Then, to open this application, an interface will open for you. There will be a plus icon in the centre. Click on it. Then, you have to select a background photo. Otherwise, there are many backgrounds in this application. Select any background. It includes single plane colours, texture, nature images, link drop colours and flash. There are many such images. Select any image and crop it in the ratio you want or crop it. Next, you need to apply a blur effect to the image you have taken because no matter what photo you apply to this photo, it will give it a professional look. First, after you select this photo, click on the effects option. Then you will see many options. Among them, the blur option will appear. Click on it. After clicking, if you want to blur as much as you want, select it. Now, add a person’s photo or a couple’s photo or any other photo one by one on the background you want to edit. This is double photo editing. First, select a photo. Otherwise, you can add your photo to two photos. Also, if you have two photos, you can add two photos. First, to add this photo, first click on the add photo. Then select a photo. Then, if you click on the selected photo again, the tools option will appear below. Otherwise, click on the adjustment option. Then, there will be an option called Saturation. The option should be taken in minus. That is, I am taking this photo in the background, so I should take it completely in black and white. Then increase the size of this photo and add any blend effects to it. In the options below, there is a blend option. Click on it and select the option you like. If there is one screen or many options, then adjust the photo in the direction you like, left or right, or centred in the photo.
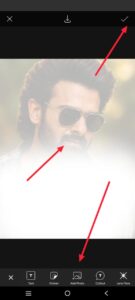 Then you have to select another photo, select a different photo from this photo, for this, click on the add photo as mentioned above, then this time you have to take the full photo, but when you select this photo, you have to remove the background completely. If you do not remove the background of your photos, after adding this photo, when you click on this photo, a different tool option will appear at the top. Click on it. After clicking on the eraser tool option, there will be another option below, Person. So there are many of these options, if you select a person, it will work only if you select a person, it will remove the background, if not, when you click on this option, the internet or mobile data should be on, then it will work, then it will remove the background within a few seconds, then click on the photo and right click, the photo background will be removed. Then, if you want to add any effects to these photos and if you want to increase the colour, you can increase the colour using the saturation option, and if you want it in HD, you can do some settings like this. That is, after setting some options like sharpness, contraand st, and brightness in the adjustment options, now move this photo completely somewhere and if you want to write any other text, write it. Now, after converting it to HD quality, you have to save it. How to do it? After you right-click, a tool option will appear there, click on it, then there will be an option called AI enhance
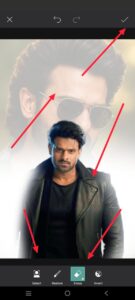 Even when we click on the option, we need internet, and then it will convert the photo into HD clarity. Then, on the right side, click on right click at the top and then click on save to gallery and this way you can save your photo.
Now, how to do photo editing using the Alight Motion application, too
This application supports all mobiles. First, open it. It is to be had inside the Play Store. After beginning this utility, click on the plus icon in the centre. Then, enter the project name at the top. Select the resolution. Select the resolution in which you want to edit the photo. Then select the background colour and click on Create Project. After that, an interface will open for us. Apply the effect and reduce the option in it from 30. Then, if you want to apply blending options to this too, after coming back, click on that layer and on the right side, there will be a blending and opacity option. Click o,n it and there will be many blending options. Using them, you can make adjustments to it. Then, if you want to convert that photo to HD, you need to use the Char Pen option. For this, you need to click on Add Effects again and search for Effects. Then apply the effects that appear. Similarly, select the second photo and use the above process. After finishing the picture enhancement, in case you want to keep it, click on the percentage alternative in the pinnacle right corner
. Then, it will say Current Frame as PNG. If you click on it and benefit from the save option, the photo will be saved to your gallery. In this way, you can easily edit photos in this application. If you have any doubts, comment.
PROMPT HERE
“Full frame studio portrait of me, taking walks confidently towards the digital camera. “I’m sporting a vibrant magenta silk kurta decorated with complex gold embroidery around the collar and placket, complemented via gracefully draped olive inexperienced dhoti pants and vibrant black get dressed shoes”. My expression consists and confident, making direct eye contact with the viewer. Behind me, an ethereal, diminished black and white portrait of me is subtly superimposed against a smoky dark grey heritage. In this historical past portrait, I am seen in profile, searching towards the right facet of the body with a thoughtful or remote from a dark grey at the lowest to a lighter, smoky gray at the top in which the profile appears. The lighting is vivid and even, highlighting the pricey material of my attire and developing a dramatic comparison with the smooth, monochrome historical past photograph. Expression. The historical past transitions easily (High-decision studio images, inventive lighting, traditional Indian apparel, specific embroidery, dual publicity, elegant, realistic, 8K, cinematic) Negative Prompt: textual content, watermark, logo, signature, greater limbs, bad anatomy, deformed, blurry, grainy, low exceptional, cool animated film, drawing, portray, bad eyes, disfigured, poorly drawn, mismatched garb, crowded. Please keep original face 100% accurate I uploaded photograph”
