Hello Friends, welcome to another article. Today, we come to our topic and learn how to do colour grading in a cinematic style for another good video editing. We have already learned some points in the previous article on this topic. The same is true. By using some different tools, we can edit our videos or our photos to the next level. In this article, I will explain to you completely how to colour-weight photos and how to colour-grade videos, so read this article completely and learn all the things and edit it. It will be useful to you at some point, or if you are doing any video editing business or freelancing, it will be very useful for you. First of all, we use some websites or applications or software to colour grade these photos or videos, but first let’s learn how to apply a colour grade to a photo.
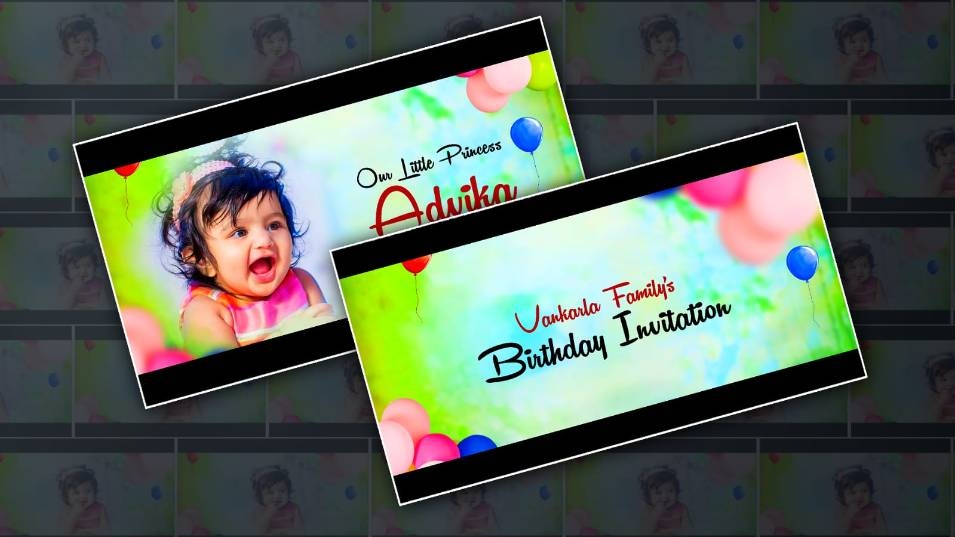
Photo Colour Grading
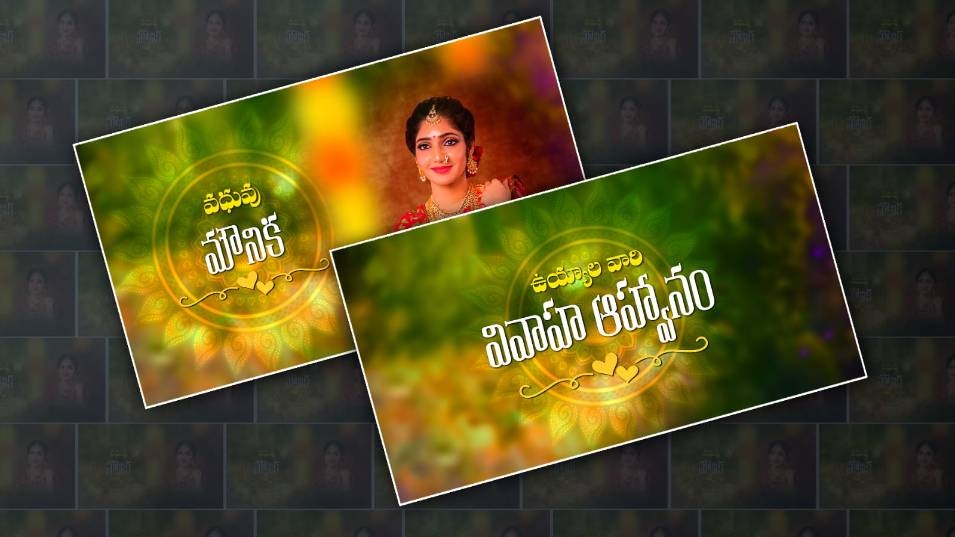
To colour grade this photo, first you need to take a photo that you have captured yourself or any photos taken from anywhere. When the colour is low or when you capture them in the original quality while shooting, you can colour grade them as you like. So let’s collect them using some applications. To get this colour, I will tell you some applications. The first is Snapseed, the second is Fix Art, and the third is Light. Roo, so there are many more applications. These are the ones we use regularly and in a cinematic style, but the application I use the most is VN. First, I will open this application and explain. The options in each application are in each type;e, that is, the options in one app are in another app, but the names are slightly different. So you should edit them without getting confused, and if you still want to collect this manually, you will waste a lot of time. Not that, if you want to edit directly in a few seconds, what do you do for this? First of all, Snapseed is the perfect application for you because after collecting any photo, you can share or save that project or preset, and publish it. Some people who have done this share it with us on social media or on Google, and they are freely visible to us in the form of a barcode. You go to Google, and there are many QR codes related to this Snapseed. Just on that QR code, they also mention how the photo was a result. So, you select the filter you like and apply or import that QR code into this application. Then you will automatically go to your photo,o and this effect or this filter will be automatically applied to that photo. In this way, you can easily calibrate without wasting any time. This is a process, as you like. Now, if you look at the Picsart app, you will not have any project presets there; you have to edit manually. So, try these three applications once; if you have all these options, you can edit to the next level.
How to do colour reading for video clips
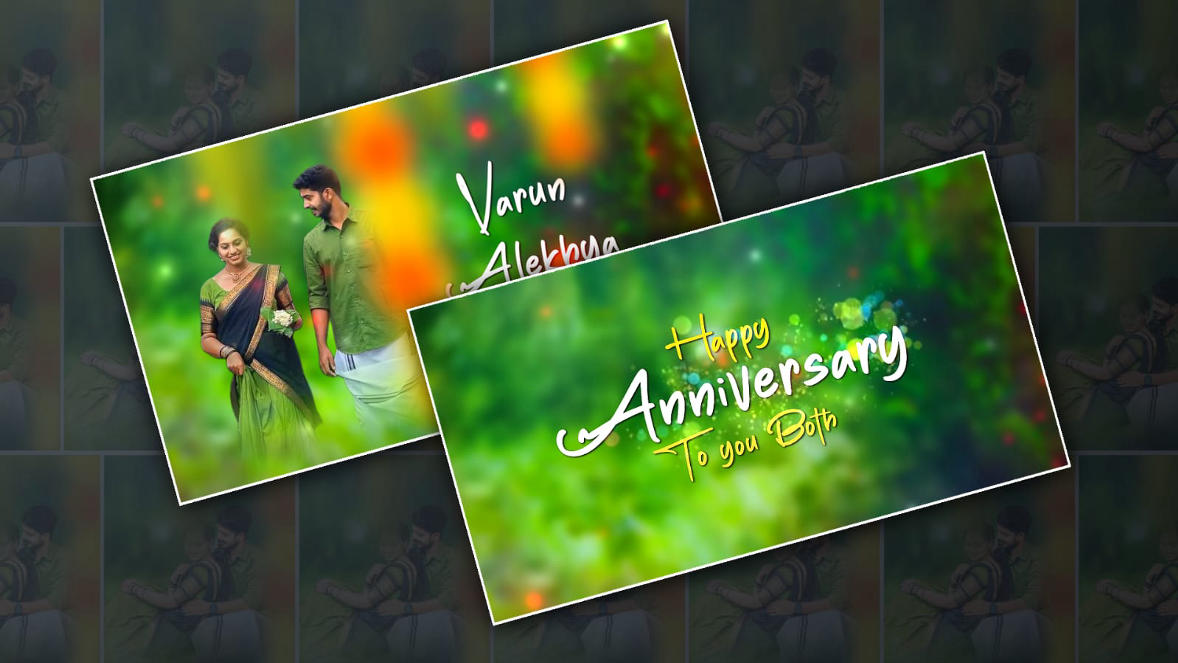
Just like we collect or supply filters to photos, let’s see how we can colour grade videos as well. To make a video friend, there is a separate video application for collecting videos. There are separate applications related to photos, but some applications colourise both video and photos. There are also such applications. I will tell you some of them. Among them, Pix Art can also do video plus photo editing. There are also some applications like Kine Master, Alight Motion, etc. However, using these, we will also see how to do a colour trade. In these applications, apart from video editing, you can also do photo editing. First, we will see how to apply this trick, and then we will tell you how to colour gear videos. First, open any application. I will give you an example of an easy application. Its name is KineMaster. It is to be had in the Play Store. From there, you can install it.
Then open it. After opening it, after giving the permissions asked for, you will have some options. Among them, click on the plus icon and select a photo or the first video. The,n when you click on that video clip, you will see some options at the top on the right side. If you scroll down, you will see the adjustment option. When you click on that option, you will also have more options. Some colour grading options will appear, using which you can adjust the colour as you like. Keep the cursor stable in the position in which you placed the cursor on the clip. Click on the view option on the left side, a nd then the capture and save option will appear. This will convert a frame in the video into a photo and save it to the gallery. We can also save photos in this way. There is a sequence option in other applications. Some applications have an option called screenshot. Apart from these, applications can do this colour grading. They are making applications that are comfortable or easy for anyone. They are asking us for daily updates and adding many more good features. The whole thing is thacolouror grading is done completely on the mobile itself. This is how they are colouring. No,w let’s learn how to colour grade videos. To shade grade those movies, you need to create a shade profile for the video in the same manner as you did for snapshots. Just click on the export choice, and while exporting, you should pick the reservation in high pleasant. For example, if you select two, four, eight, etc. and export and save, you will see a good result for the colour grading you do. So in this way, y you can edit colour-grading videos or photos. So if you still have any doubts about this, ask in the comment section and also let us know what topics you want.