Hello friends, welcome to another good article, friends. Every day on our website, we upload all kinds of interesting articles, technology news, editing tricks and tips. Articles like this, you will be 100% young. In today’s article, let’s learn how to do Pindamatic Stylish Men’s Photo Editing. Many people are editing using artificial intelligence for this photo editing, but it does not match the face properly at one time and at another. But I have explained why using two applications. It works 100%. If you don’t want to go through the whole process, you can edit directly using this app.
How to edit using PicsArt
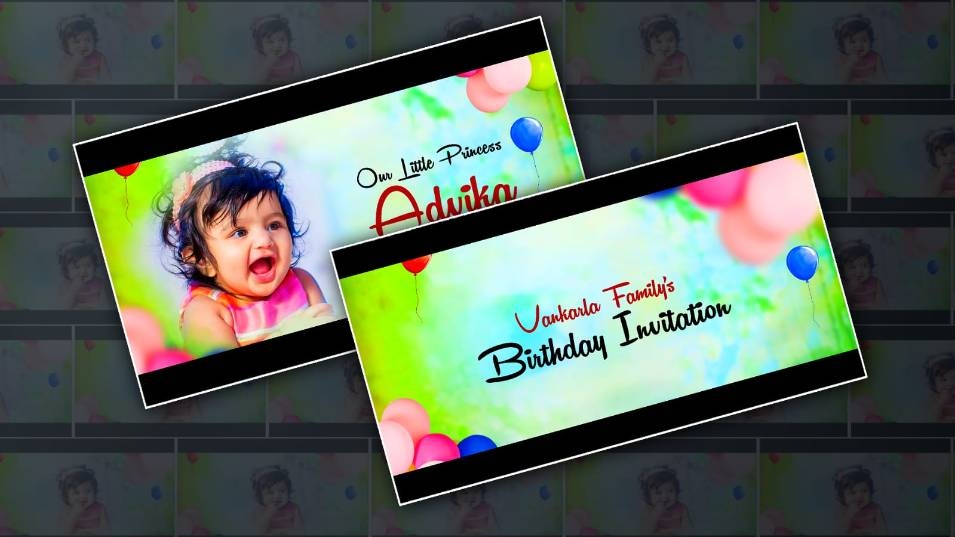
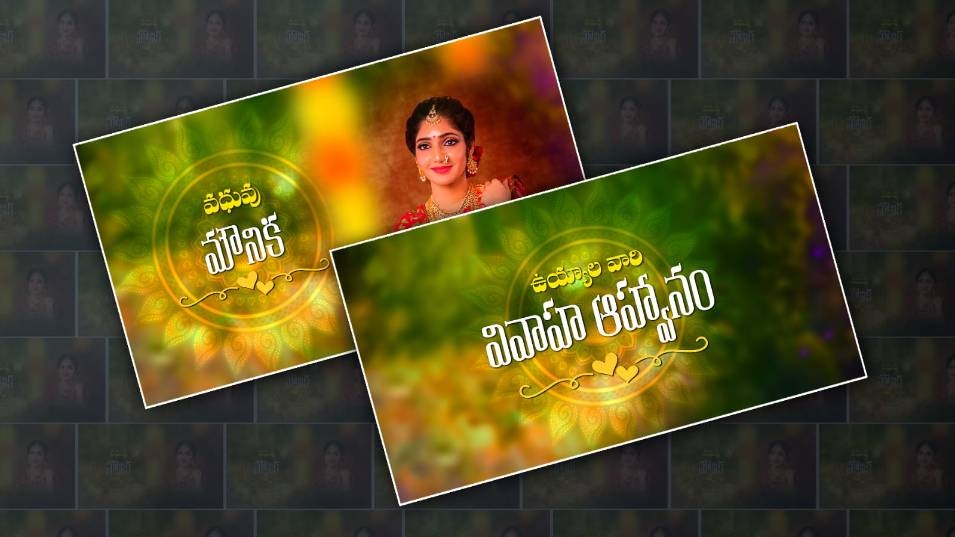
Photo editing in this application is very simple; you can edit at any time. Even if you have zero knowledge about photo editing, you can easily learn and edit it. Apart from photo editing, it also includes banner editing, card editing, pamphlet editing, birthday banner editing, and many more. You can also easily edit visiting cards, business cards, invitation cards, and more in the languages of your choice. So now let’s learn how to edit. First of all, you open this application. After opening it, you will have a + icon at the bottom. Click on it. After clicking, first you have to select a background.  You can do anything for this background. Otherwise, click on the plus sign and click on Edit. If you click on a photo, you will get many images, including nature images, texture images, colour images, and many more. Select texture images or blur background images. After selecting any payment, there will be many options at the bottom. In the options, there will be an effects option. After going to effects, there will be another option. Select it, and there will be two more options there. Using those two letters, you can adjust the blur strength as much as you want. After doing that, select a vehicle. If you want this vehicle PNG, it will appear as Add Photo. If you already have a photo, add it. Otherwise, there will be a sticker option in it. Click on it and set something in the search option. Search for the vehicle you want. After searching, many vehicles will appear there. If you like something, select it to be stylish, or some PNG images related to a normal background will also appear. Search and add something. After adding, you need to make adjustments and move it where you want it. After you have adjusted, you also need to apply the Weeknet option to make the background of the movie ticket appear. For this, if you click on the adjustment option again, it finally lifts the colour option. If you have many more options, there will be an option in it, apply antechain. After applying this, finally, now you finally need to add your photo. After selecting your image, first get rid of the background of your photo. If you want to get rid of it, there can be an eraser device option on the pinnacle. Click on it. After clicking, there will be an option called Person at the bottom. Click on it again. When fixed, the data should be on. Only then will it work. After clicking like that, it will go automatically and remove it after a few seconds. Even if you do not remove it properly, you can still use the eraser option at the bottom. You can still clear it by using it. After manually adjusting your photo, you need to adjust it. After making such adjustments on the screens, you now need to increase the clarity of this photo a little. For this, you will have a tool option on the left side at the bottom. Click on it. There will be many options in it. There will be an option called AI Enhancement. Click on the option. Even while using this, you should have data. Then it will take some time, from 30 seconds to one minute, because it will add some pixels to this photo and convert it to H2. For this, after converting your photo in this way, click on the share option at the top. Then, there you will again click on the sixth mark and click on the save to gallery option. This photo will be saved to your gallery. It will be saved successfully, so you can easily edit it.
Alight Motion Editing
If you think that this Alight Motion is only for video editing, but if not, you can also do photo editing in it, that too is also simple. Let’s see how it is now. This application is developed only for video editing, but I will show you how to edit the editing at the next level. However, when you edit the photo, you should already have some PNG images in advance, because if you prepare everything, you will have to add and edit each one. First, open this application. After opening, there you will have a green colour icon inside. Click on it. After clicking, there is a project name and resolution, which means the size of your photo and the background colour, and then you create a project. Now you will have an interface open in which you have to take a background image again. If you already have an image, click on the plus sign and lift the media option and add it. Or if you want a multiple colour image, there is an option called Shapes, and take any shape. After taking it, click on the layer above the shape and click on the colour and field option on the left side. Then there you have three options: gradient, colour, or media. You can put it in sincolour,slors, or you can set the gradient in the gradient, that is, mulcolourscolors, as you li,ke. Now, in case you need to add any other photographs, click on the plus sign and visit media and add pictures and make changes. Then, if you need to feature your picture, go to the galleries in the same manner and upload your photograph. However, here your photo will not put off the historical past. There will be no choice in this; in any other case, you may set the heritage of your background photo. If the heritage is one colouration or two colourations, it’ll be clean. For this, you need to use an impact. Click on the photo you have taken. Then, from left to right, there will be an effects option at the bottom. Go to it and search for it. Apply the effect that came to Chroma and select the colour in it. If there is one colour, select one colour. If there are two colours, duplicate that effect again and add a different colour to it. In this way, after you remove tcolourlor, adjust the photos and click on the share option at the top., The bbelow where there will be an option called Current Frame as PNG. If you click on it, this photo will become your way.
PROMPT HERE
“8K extremely-sensible photograph of a South Asian younger guy seated in a black open-roof 4x4off-street car, He’s wearing a black denim jacket, white t-shirt, black jeans, white Nike Air Force 1 shoes (every virtually visible), spherical black shades, and white Apple Watch Series 8 (4Imm). One hand on steerage wheel, one on thigh, one leg immediately, looking optimistically at digicam. Same face, nostril, lips, coiffure as reference photograph, wavy brown hair, sun-kissed skin. Green blurred bokeh background, the front move angle, high element. Please preserve unique face one hundred% accurate i uploaded photograph”