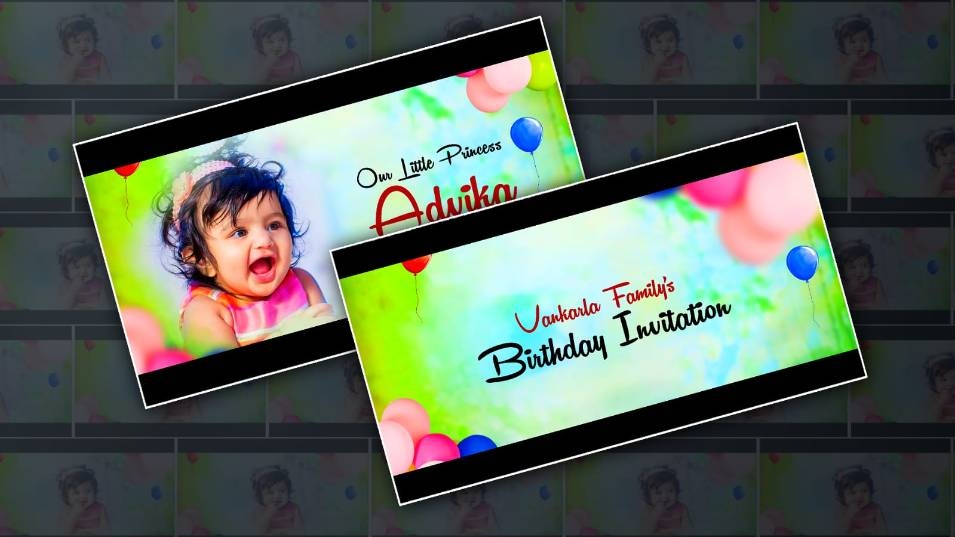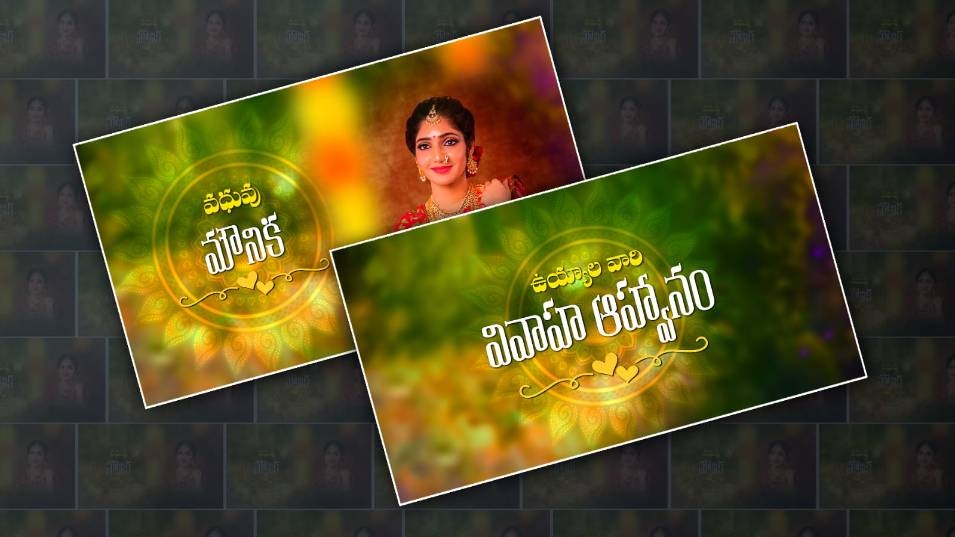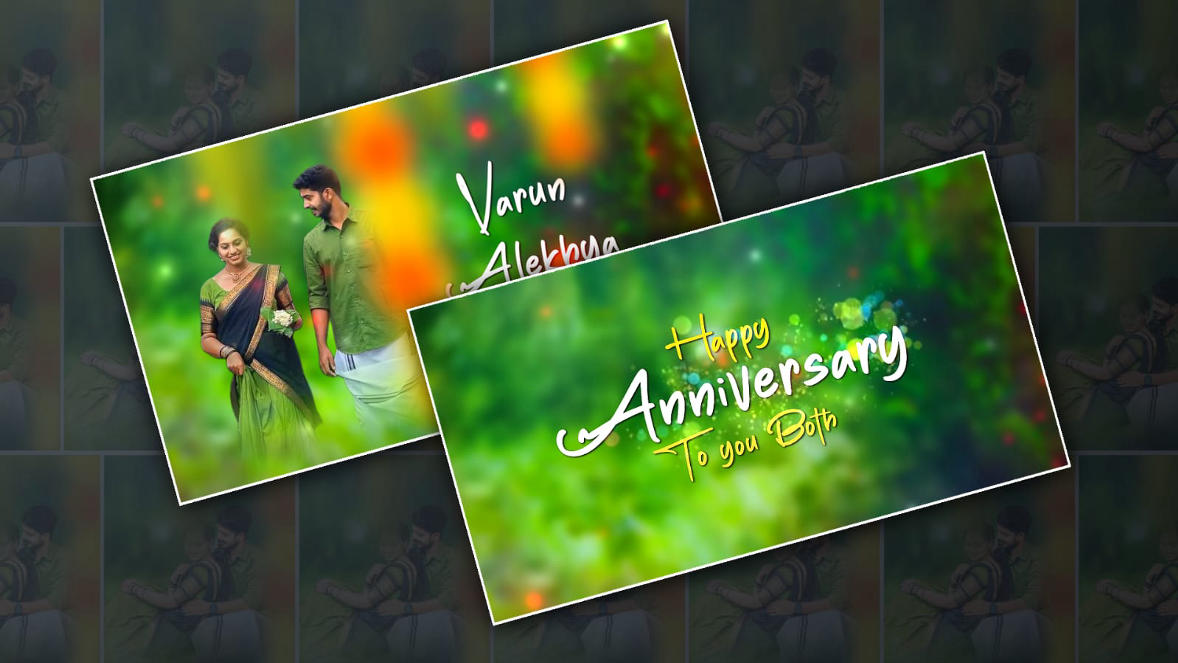
In today’s article, I will explain to you about an interesting trending photo editing article that is now trending on social media. Everyone is editing with this effect; many people are doing it with their photo and flower to make it attractive, but this photo editing can be done. Using AI, I will explain to you 2 ways, one using AI and the other using any editing application. Many people use AI to edit some photos in a few seconds. Now it is available to us. First, I will explain to you in any application. Then, I will explain using AI. There are many photo editing applications available to us to edit this photo. Among them, I am using an application that is similar to that used for video editing, its name is
How to edit a photo using Alight Motion
However, many people only know that these applications are for video editing because they are specially developed for video editing, but in this, you can also do trending photo editing in HD at the next level. The tools in this are very good; you can also edit easily, and each tool has many tools in each tour, which is why I am also using it for photo editing. I will explain why clearly. For this, first you open this application, finally lift the plus icon in the first green color that works, then enter the project name at the top, then craft the background color results, that is, the ratio in which you want to edit the photo, then set the background color and click on Create Project, this will open the interface for us. If you have a lot of upshout there, click on the plus icon again, then we have to create a background first, so for this background you can add any photo you like from your gallery, for that you can click on the media option, or if you want to create any color in the background yourself, there will be a shares option, click on it, then take any rectangle shape and set it to fit the screen. For this, if you want to feel automatically, you can use the move & transform option. Or there are three dots as a line at the top, click on it, then click on it, it will say Feel Composition Area, but if you click on it, this shape and this color will fit your screen, then you can apply not a single color, you can also apply multiple colors, if you want to apply any color, you have to use the same option there, its name is Color and Fill, which option should you use?
 There are three types of options in this again. The first option is Colour. Click on it and select the colour of your choice. Then, now you need to add this photo, i.e. your personal photo. For this, after coming back there again, click on the class icon, click on the media option and select a photo from the gallery. You need to select your photos. You should only use photos where the background of the photo is completely removed. If your photo does not have a historical past eliminated, or if you have a single colour or two colours for your picture background, you can remove it very easily. After you pick out a photo or upload it, click on the layer. After that, we will have the effect option. Click on it. Then click on the add effect and click on the search option point again. There will be an option for chroma. Click on the option and select the colour in it. If you want to remove the background colour, select that colour and use the options there. This way, ay you can also remove colours, or if you want to remove multiple colours, you can duplicate the same effects and take a different colour in another effect that is duplicated.
 Now, set any of these photos to one side and then apply the winning photo. For this, click on this photo again. Then click on Add Effect in Effects and search for it. If there are many options, click Effe,cts, and if there is an effect you like, you can apply it. In the same way, in case you need to feature textual content, you can also add textual content. For this, click on Add Text and then pick the textual content of your desire. After selecting, enter your name. That’s it. You just need to apply a font and make adjustments. After editing everything, there will be a share option, click on it, then when you go down there, after selecting quality, there will be an option called Current Frame as PNG in the middle options, click on it and then click on the save option in the button, this photo will be saved in PNG format or normal format, in this way you can edit the photo in these applications. Now learn how to edit using A.I.
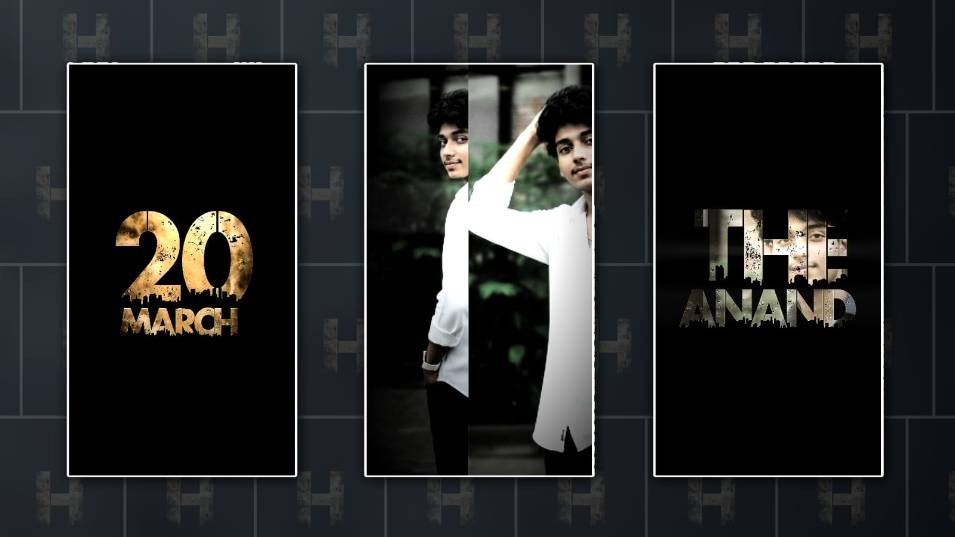
How to edit a Glitchh Effect photo using AI
In this, we can edit photos very simply because you just upload a photo and give it a text of your choice, and it will automatically edit it within a few seconds. Let’s see how. First, open any AI tool. These are applications, as well as websites. Open any one of them. If there is a requirement, sign up, then click on any option above Upload Files or Add Photo, then select the photo, then explain the text you like under that photo, that is, explain its meaning in any language, but in this case, the photo will be edited according to the text you give. Completed means you can edit the photo however you want, like changing the background and discovering, etc. Explain clearly so that the tool can understand it and then submit it. That’s it. It will start editing your photo in a few seconds. Then click on the photo and save it as a photo. How to make photo editing easy with artificial intelligence. You can also do training in photo editing in this way. If you have any doubts at home, please comment.
PROMPT HERE
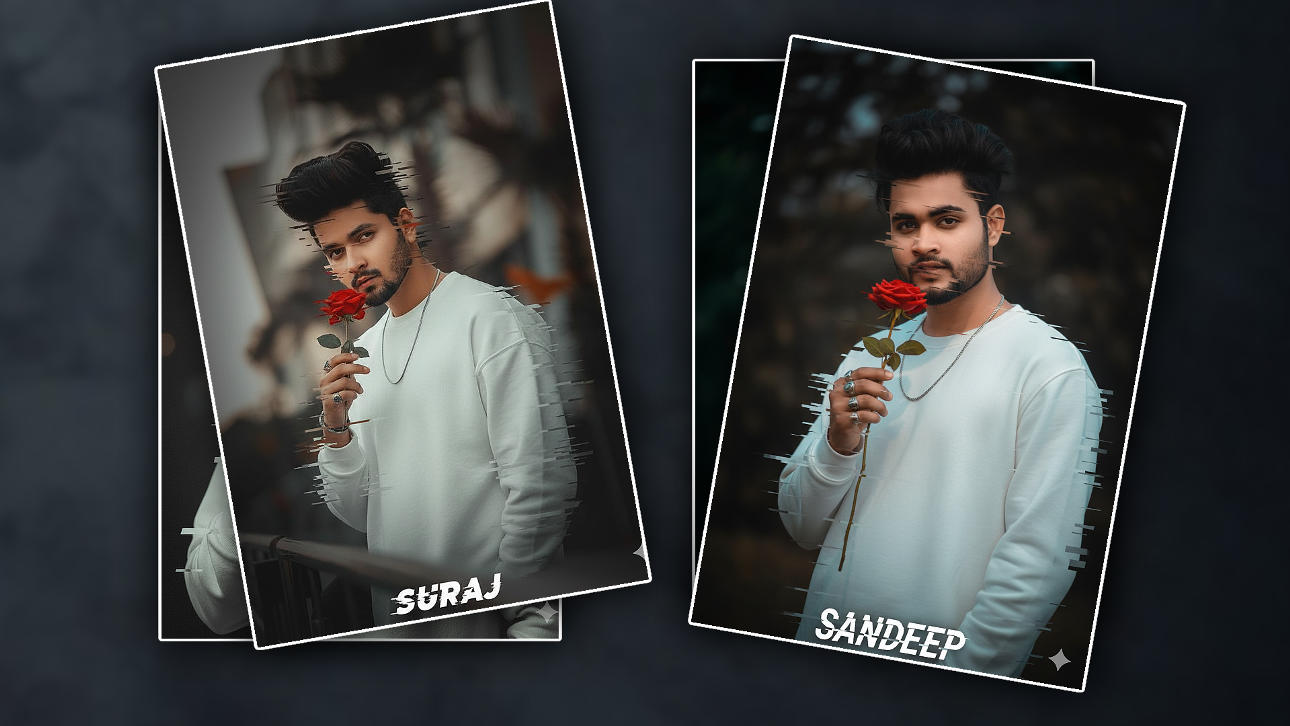
A SURREAL, LTRA-DETAILED PORTRAIT OF A YOUNG MAN WITH MESSY, TOUSLED BLACK HAIR AND A SHORT BEARD, HOLDING A VIBRANT RED ROSE CLOSE TO HIS FACE. HE IS WEARING A PLAIN VERSIZED WHITE SUETASHIRT AND A THIN SILVER CHAIN NECKLACE. HIS FINGERS ARE ADANED WITH RINGS. THE BACKGRNAD IS MINIMALISTIC AND SHADCUY.EMPHASIZING HIS PRESENCE, THE PORTRAIT IS STYLED WITH A DIGITAL GLITCH EFFECT-PARTS OF HIS FACE AND BODY ARE FRAGMENTED INTO HORIZONTAL PIXEL STREAKS IN, AND ADD NAME ON BOTTOM SPELLING “NAME” KEEP ORIGINAL FACE a hundred% ACCURATE I UPLOADED PHOTO