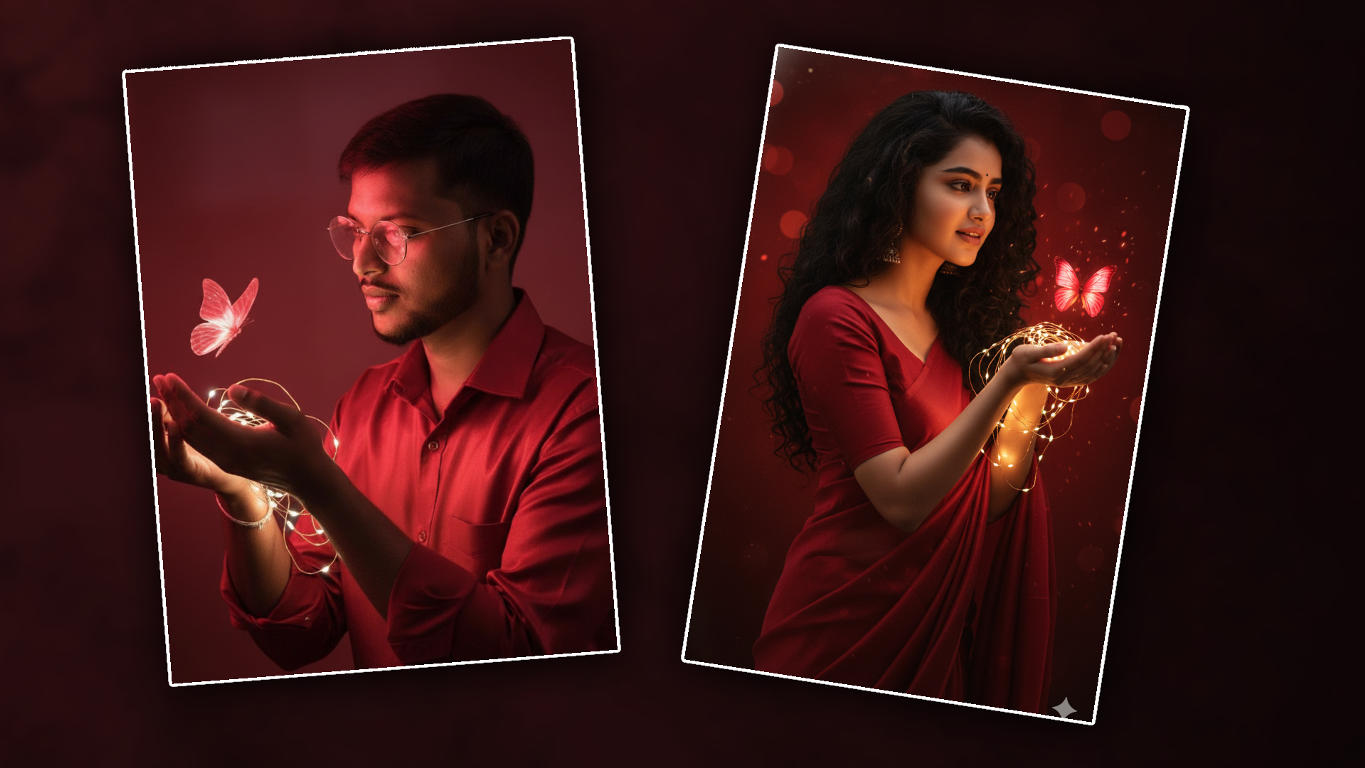
Hello friends, welcome to another interesting article. This effect is trending; everyone is editing it. It is very easy to edit, so everyone likes to edit it. You can edit it easily without any editing skills. I will easily explain to you about the article completely, and you also try it, it will help you and others, rs also your family. Also an go and edit them too. However, this photo can be edited in two ways: one is artificial intelligence, and the second is applications. Not everyone may know about the application, and it can be difficult to edit, so everyone is editing such photos very simply, without any skill, using artificial intelligence or AI. So now let’s see how. First, I will explain to you how to use artificial intelligence tools, or if you want to use the application itself, I will explain it to you first using an application as explained or discussed in the previous article.
How to edit using the application
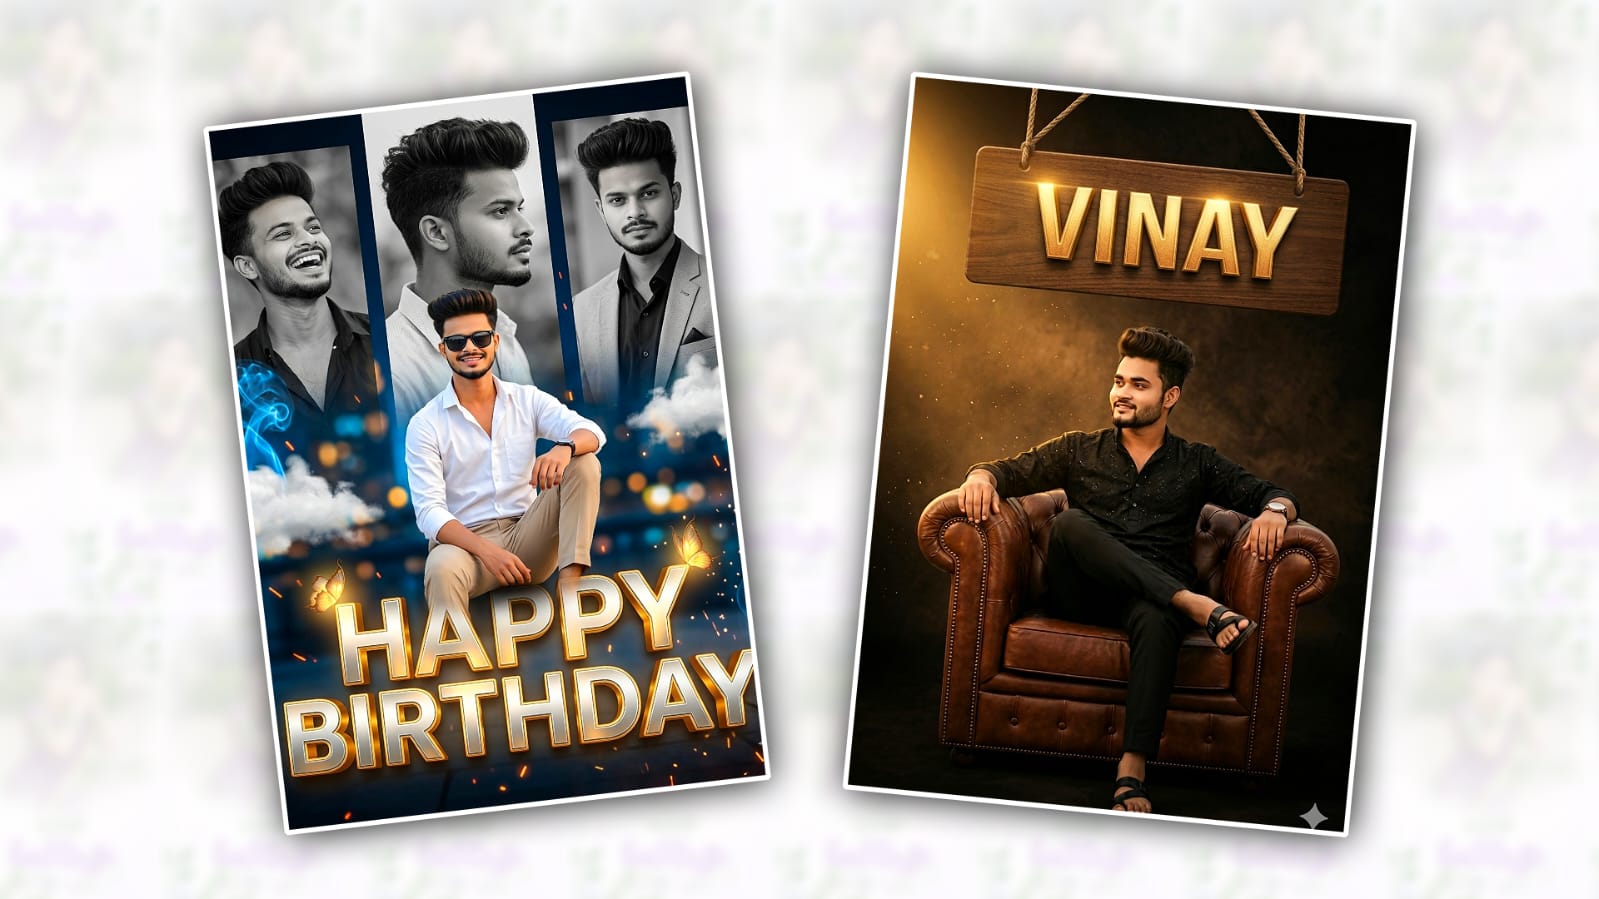
We have many applications to edit such photos, there are many tools, there are some applications that are best for editing mobile, take any one of them, the process and tools are the same in all applications, but the names are a little different, understand and edit, I will explain using any one of them, open any one of them, if we have these in the store, then in the store, okay, after opening it from there, first you need a butterfly effect PNG image to edit this photo, you also need your photo, that photo should be in HD quality, then you need to put this butterfly plus your photo will match, in this butterfly effect place you can also put your name or if there is any festival, then you can also put the name of that festival, so let’s see how, first after opening the app, click on the plus icon, then click on the edit any photo option and select any photo and first for the background because in the background you have to selectthe dark red colork. After that, we need to apply a blood effect to this photo. For this, we have many options at the bottom, among them is the blur option. Click on it and apply as much blur as you want.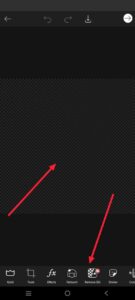 Now you have a background photo ready, now we need to add our photo on that photo, for this click on add photo, then select a photo from the gallery and select a photo that is in clarity and add it, then remove the background of that photo as well, otherwise if the background is blurry, you can cover it using blending options. If you want to remove the background at the same time, then click on the eraser option at the top, then click on the person option, My Lift, so here Lift, not here, then it will automatically remove the background. Then, if the left side or right side is a side, you can celebrate this photo. Then, in front of you, you need to apply the butterfly effect. Before this, you need to apply a glowing effect to your face. What you do for this is to click on the ad photo again and take the colour you have in rer. Then fit the photo you took to the background to fit the screen. If you want to edit other things, after completely fitting the ratio, now click on the shape photo that you took above and below. We have many options, among them, there is an option called Blend. Click on it. There is an option called Multiplay. If you click on the option, whatever red colour image you took now, the red colour of that image will be applied to the photo in the background. The recolouror is the same. In the same way, after taking the butterfly photo, you should also apply it. First, select this butterfly photo.
 For this, click on the add photo again and select the butterfly image in PNG format in PNG format and add it. Then set its size and set it in front of your photo. That is, if you add two hands like hands, make sure that this butterfly effect comes a little more on those hands. As mentioned earlier, apply a glowing effect to it. For this, click on an add photo again and take a screenshot, colour it after taking it too. This multiply will be in the blending and opacity option, or click on the blend option, and there will be a multiply option there. If you click on it, the loured shape image you have taken here, the size of the butterfly, and delete it only to the extent related to that butterfly. Since you have already applied it to the photo, there is no need to set it completely to the screen. So after setting it this way, your photo editing will be complete. If you do not want this butterfly effect, you can also write any text. What you do for this is that there is an option called Add Text. Click on it. Then write any text, a nd if there are many fonts related to it, select the content you like. Otherwise, if you want to edit in Telugu, enable the Telugu option on th,e keyboard, and after you write something, you have to apply that Telugu font again manually.
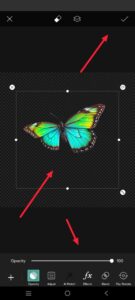 After that, you can also edit these photos. For this, you click on the tools option. Then, if there are some options among them, there will be an option on the right, bottom right. If you click on it, it will take some time. Then, it will convert your photo into HD quality. Then, click on the save option at the top and save the photo. This is how you can edit it in the application. Now, let’s learn how to edit with artificial intelligence.
How to edit using AI
With the current technology, AI tools have become very accessible. With these tools, we can do many things, not only photo editing, but also ask any doubts. It will mean an answer. Even after this, it will save us a lot of time. Now, if you want to edit, just your photo is enough. You don’t need any effects. Let’s see how it generates the whole thing. First, you open any tool, be it an application or a website. We have all these tools in the application and on the website. Open the website and sign up. Then click on any option like Attach File or Upload File, or Upload Photo.
Note:
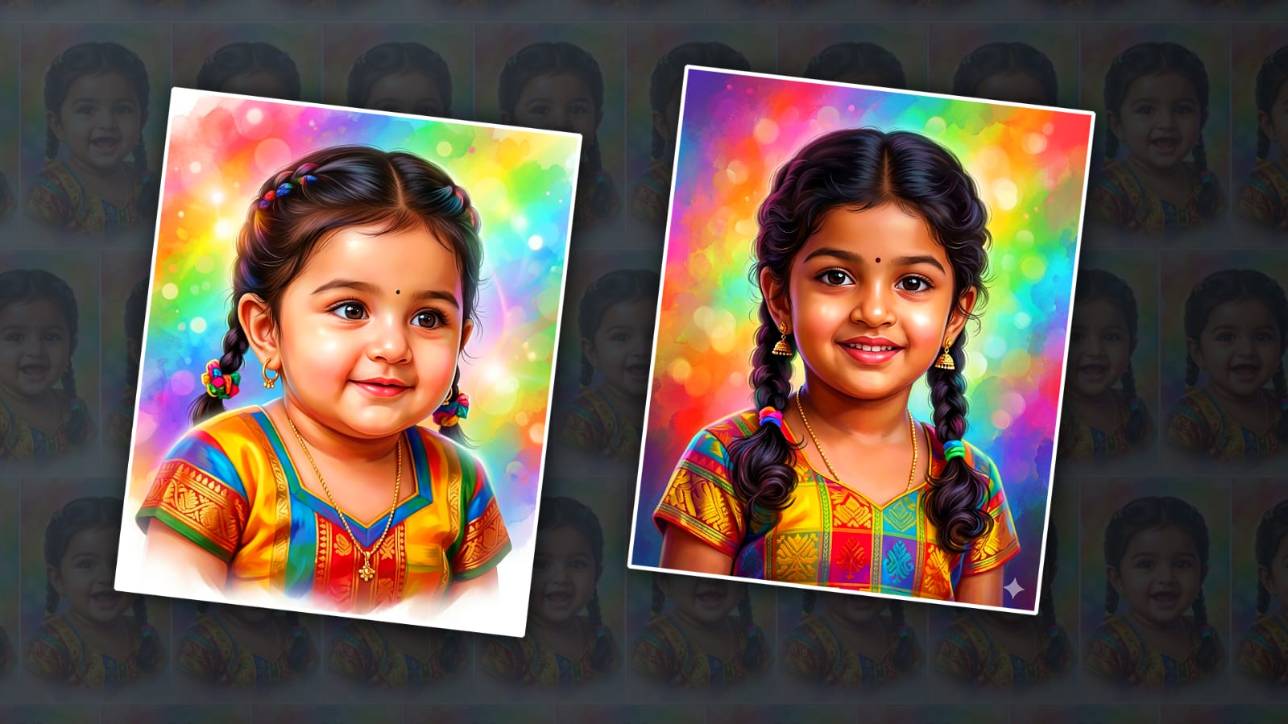
Change the highlighted text to whatever you want, for example, ( Boy or Girl or Dress and Sunglasses ).
PROMPT
Girls (Saree with Glasess)
Portrait of a narrow younger ladies, dreamy nocturnal magical-realism fashion, waist-up three/four view, sporting shiny Red saree and blouse and round clear glasses, original coiffure, palms cupped near her face preserving a skinny string of fairy lighting fixtures, gaze fixed on a glowing Red butterfly above her hands, expression of surprise and serenity, gentle Red history. And do not trade the face
Boys (Red Shirt with Glasess)
Portrait of a narrow young ladies, dreamy nocturnal magical-realism fashion, waist-up three/4 view, sporting bright Red Shirt and round clean glasses, unique coiffure, arms cupped close to his face maintaining a thin string of fairy lights, gaze fixed on a sparkling Red butterfly above his hands, expression of wonder and serenity, gentle Red history. And don’t exchange the face